There is a special kind of confidence that comes from holding the right tool in your hand. In chemistry, that confidence is not about fancy gadgets. It is about reliable basics that help you measure, heat, mix, and observe without turning your experiment into a mystery novel.
Below is my go-to starter kit: 10 essential laboratory tools for beginner chemists, plus simple use-and-care habits that keep your gear accurate and your fingers un-singed.
Before the tools: safety first
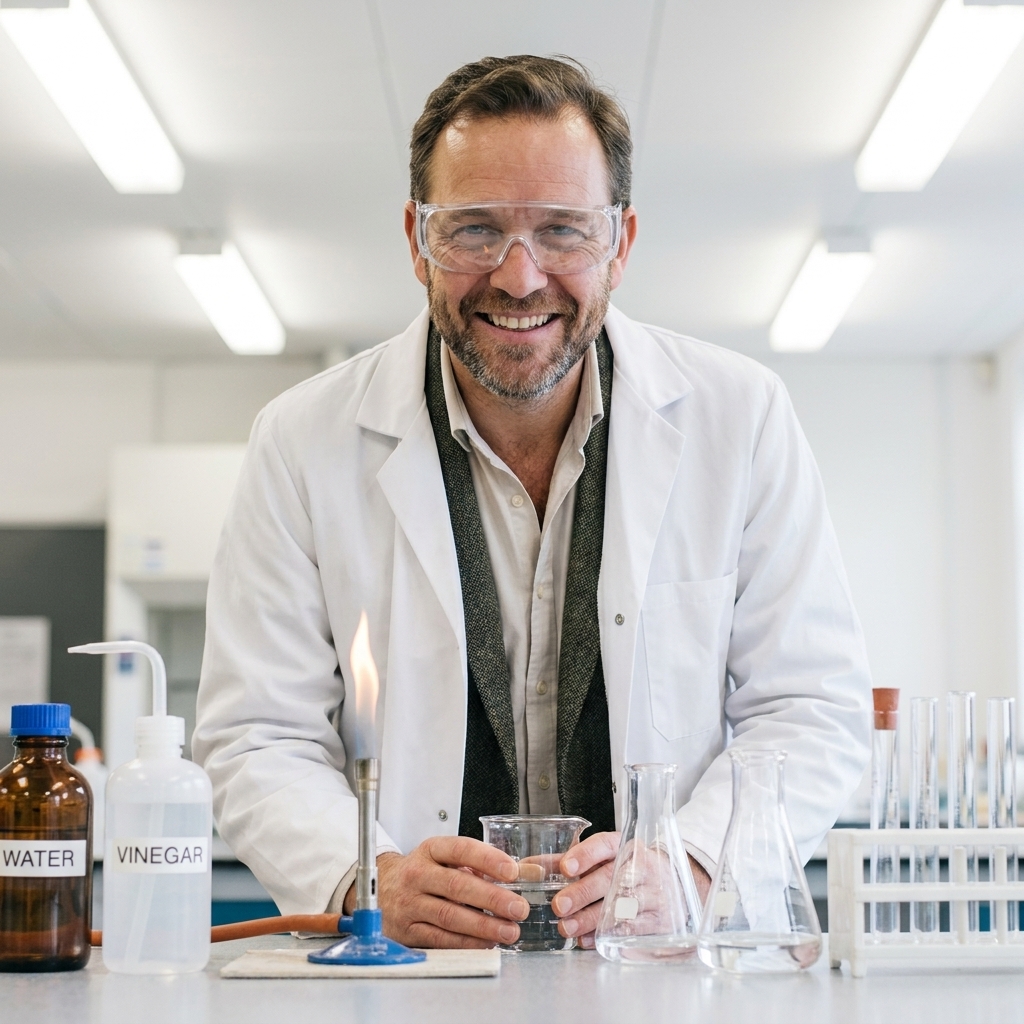
I know, I know. You came for flasks and flames. But the best lab tool is good judgment, closely followed by protective gear and ventilation.
- Wear splash goggles, a lab coat or apron, and closed-toe shoes.
- Gloves help, but choose wisely. Nitrile is common, but no glove is universal, and some solvents laugh at it. Check compatibility for what you are using.
- Ventilate whenever you work with fumes. A fume hood is ideal. If you do not have one, do not improvise with hazardous chemicals.
- Label everything, even “just water.” Future you will thank you.
- Never heat a sealed container.
- Know where your sink, eyewash, and fire extinguisher are if you are in a formal lab.
- Use the right waste container. When in doubt, ask your instructor or follow the lab’s posted waste rules.
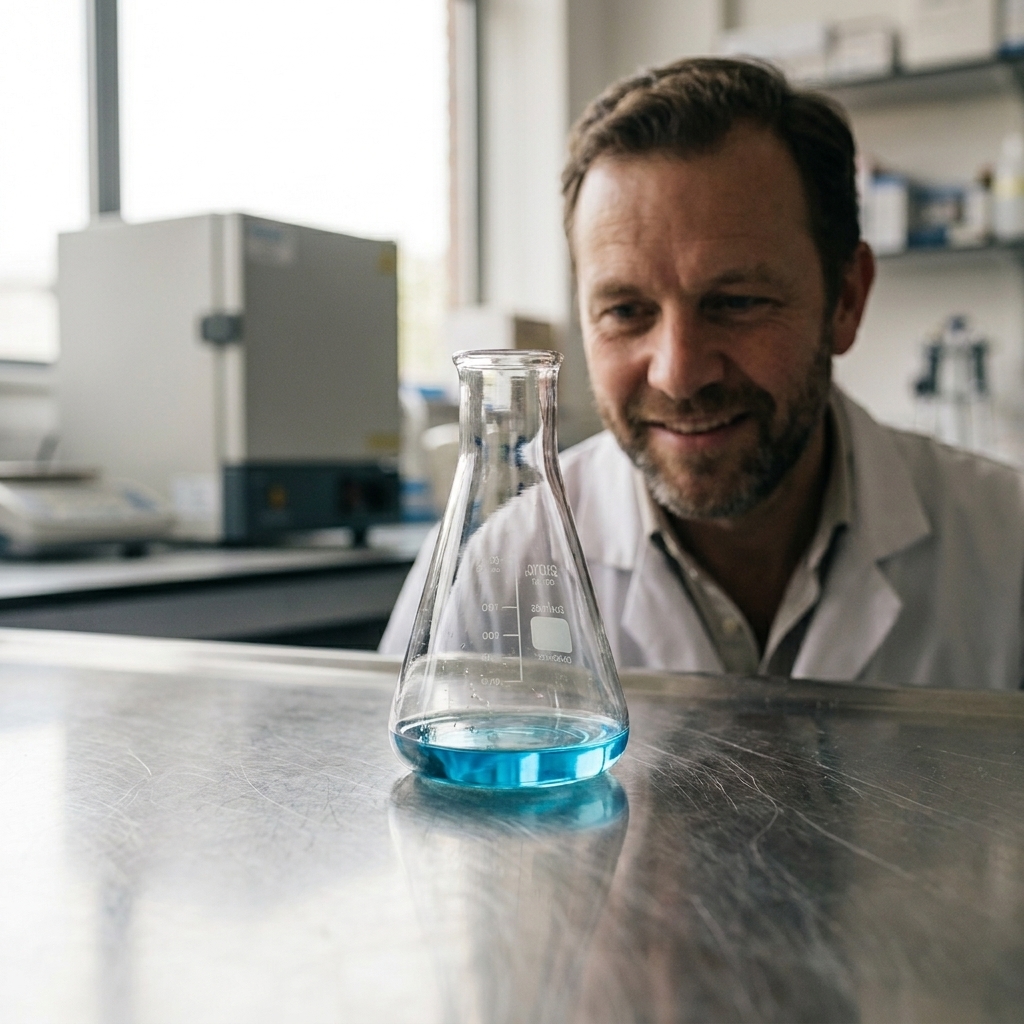
1) Erlenmeyer flask
What it is: The conical, narrow-necked flask that feels like it was designed by someone who got tired of spills.
Why beginners love it: You can swirl liquids without splashing, and the narrow neck helps reduce evaporation and contamination.
How to use it well
- Swirling: Hold the flask by the neck and make gentle circular motions. Let the shape do the mixing.
- Heating: Only heat borosilicate Erlenmeyer flasks, and avoid sudden temperature changes. Use a ring stand and clamp when you can, and use tongs or heat gloves when you need to move hot glass.
- Temporary covering: Use a watch glass or foil when appropriate. Do not stopper a flask you plan to heat.
Care and maintenance
- Rinse immediately after use to prevent crusty residue.
- For stubborn residue, soak with warm water and a lab-safe detergent, then use a bottle brush.
- Inspect for chips at the rim and hairline cracks before heating.
2) Beakers
What they are: Straight-sided glass (or plastic) containers with a pour spout.
What they are great for: Mixing, rough volume estimates, heating water baths, and holding solids while you weigh or transfer.
How to use them well
- Do not treat beaker markings as precise. They are approximate.
- Pouring: Use a glass stirring rod as a “guide rail” to reduce drips when pouring from a beaker into a smaller opening.
- Heating: Use a hot plate or wire gauze over a flame, and avoid heating an empty beaker because uneven heating and thermal stress can crack glass fast.
Care and maintenance
- Clean like any glassware: rinse, detergent, brush if needed, final rinse with distilled water for sensitive work.
- Avoid stacking wet beakers. They can stick and chip.
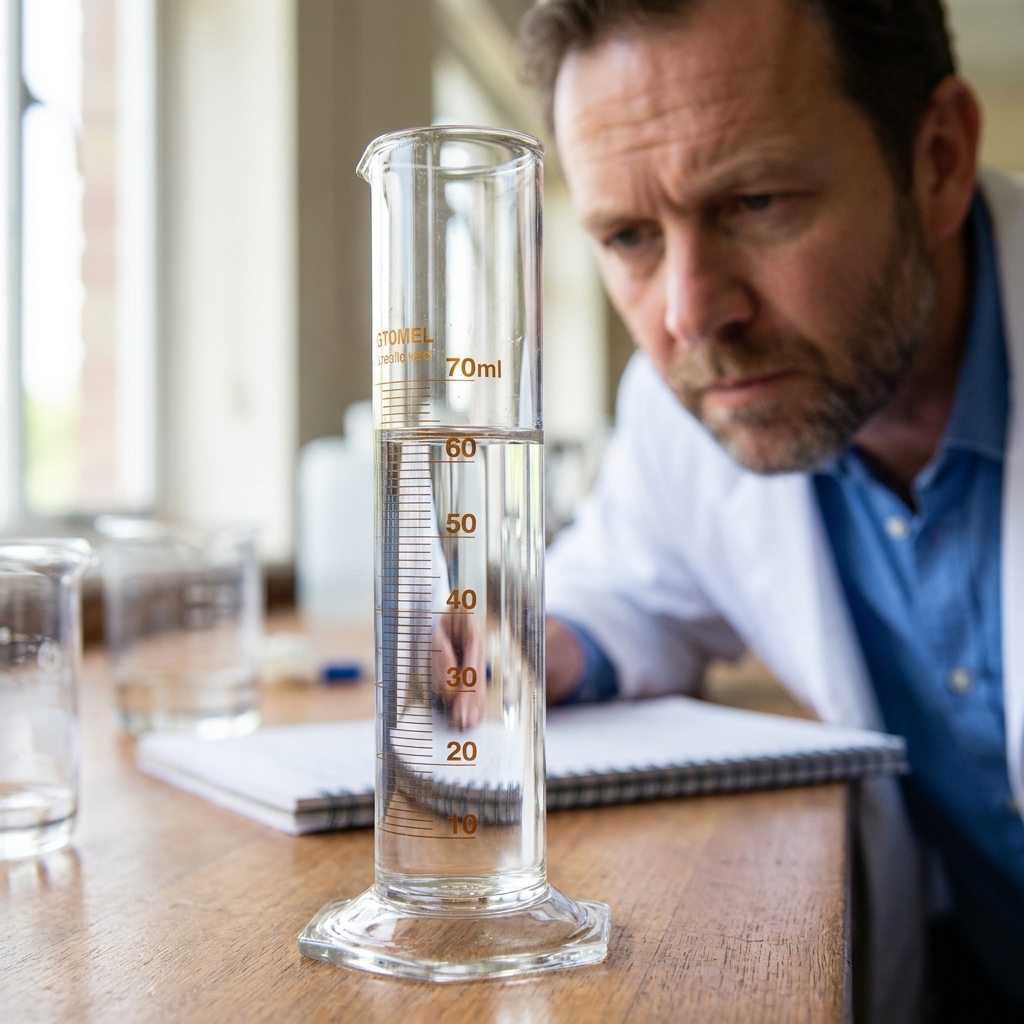
3) Graduated cylinder
What it is: A tall cylinder with volume markings designed for measuring liquids more accurately than a beaker.
Where it shines: Any time liquid volume matters: dilutions, solution prep, and measuring solvent or reagent volumes with reasonable accuracy.
How to use it well
- Read the meniscus: For most clear liquids, read the bottom of the curved surface at eye level.
- Choose the right size: Using a 100 mL cylinder to measure 10 mL is like using a yardstick to measure a paperclip.
- Pour slowly: Overshooting is the classic beginner move.
Care and maintenance
- Do not scrub volume markings aggressively, especially on plastic cylinders.
- Store upright and avoid heat that can warp plastic.
4) Pipettes and pipette tools
What they are: Pipettes move measured volumes of liquid. A volumetric pipette is for high accuracy at one specific volume. A graduated pipette measures multiple volumes. A transfer pipette (often plastic) is for quick, not-precise transfers.
Beginner takeaway: Use the most accurate tool your task deserves. Not every pour needs a laser-guided system.
How to use them well
- Use a pipette bulb or pipette pump. Never pipette by mouth, not even once.
- Pre-rinse: For accurate work, rinse the pipette with a small amount of the solution you will measure.
- TC vs TD: Some glassware is marked TC (to contain) and some is TD (to deliver). Volumetric pipettes are typically TD, meaning they are calibrated to deliver the stated volume when allowed to drain properly.
- Let it drain correctly: Many volumetric pipettes should drain by gravity. Do not blow out the last drop unless the pipette is marked for it.
Care and maintenance
- Rinse immediately after use, especially with sticky or precipitating solutions.
- Store glass pipettes in a holder to prevent rolling and breakage.
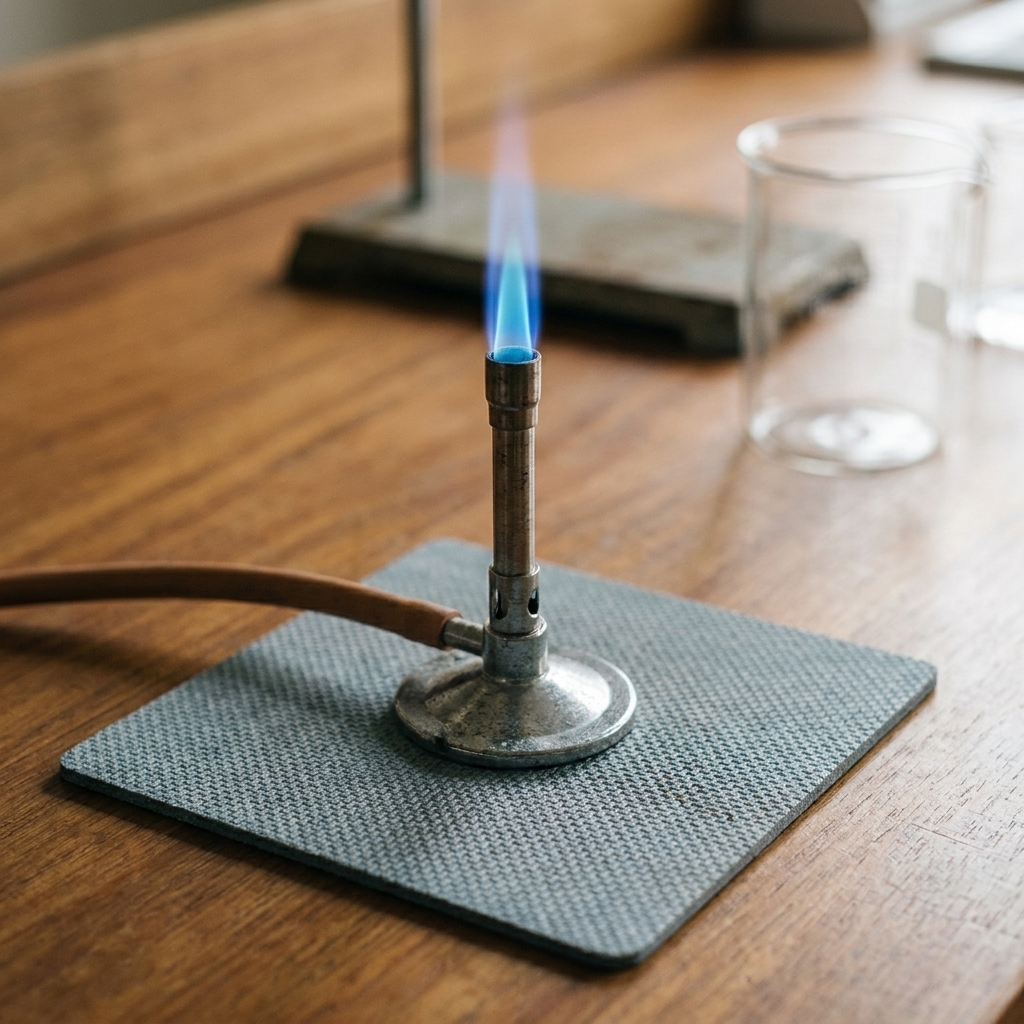
5) Hot plate or Bunsen burner
What it is: A Bunsen burner provides a controllable gas flame for heating and simple tests like flame colors. If you do not have safe access to a gas line and proper ventilation, a lab hot plate is often the safer beginner choice.
Why it matters: Heating is where chemistry starts feeling like chemistry, and also where most “oops” moments happen.
How to use a Bunsen burner safely
- Check hoses for cracks and ensure a snug connection.
- Clear the area of papers, solvents, and loose sleeves.
- Light with a striker (flint lighter) or approved igniter. Turn on gas slowly.
- Adjust air intake to control the flame. A blue flame is typically hotter and cleaner than a yellow, sooty flame.
- Never leave a flame unattended.
Care and maintenance
- Turn off gas at the source when finished.
- Let the burner cool before moving it.
- Keep the barrel and air vents clean to avoid unstable flames.
6) Ring stand with clamps
What it is: The quiet hero of the lab. A heavy base with a vertical rod, plus attachments that hold glassware where you need it.
What it enables: Safe heating, filtration setups, burettes for titration, and any experiment where “holding it by hand” is a bad plan.
How to use it well
- Stability first: Put the ring stand on a flat surface and keep heavy glassware close to the rod.
- Clamp placement: Clamp glassware gently but securely. Over-tightening can crack it.
- For heating: Use an iron ring plus wire gauze to support beakers.
Care and maintenance
- Wipe metal parts dry to prevent rust.
- Check clamp rubber or cork pads and replace if worn.
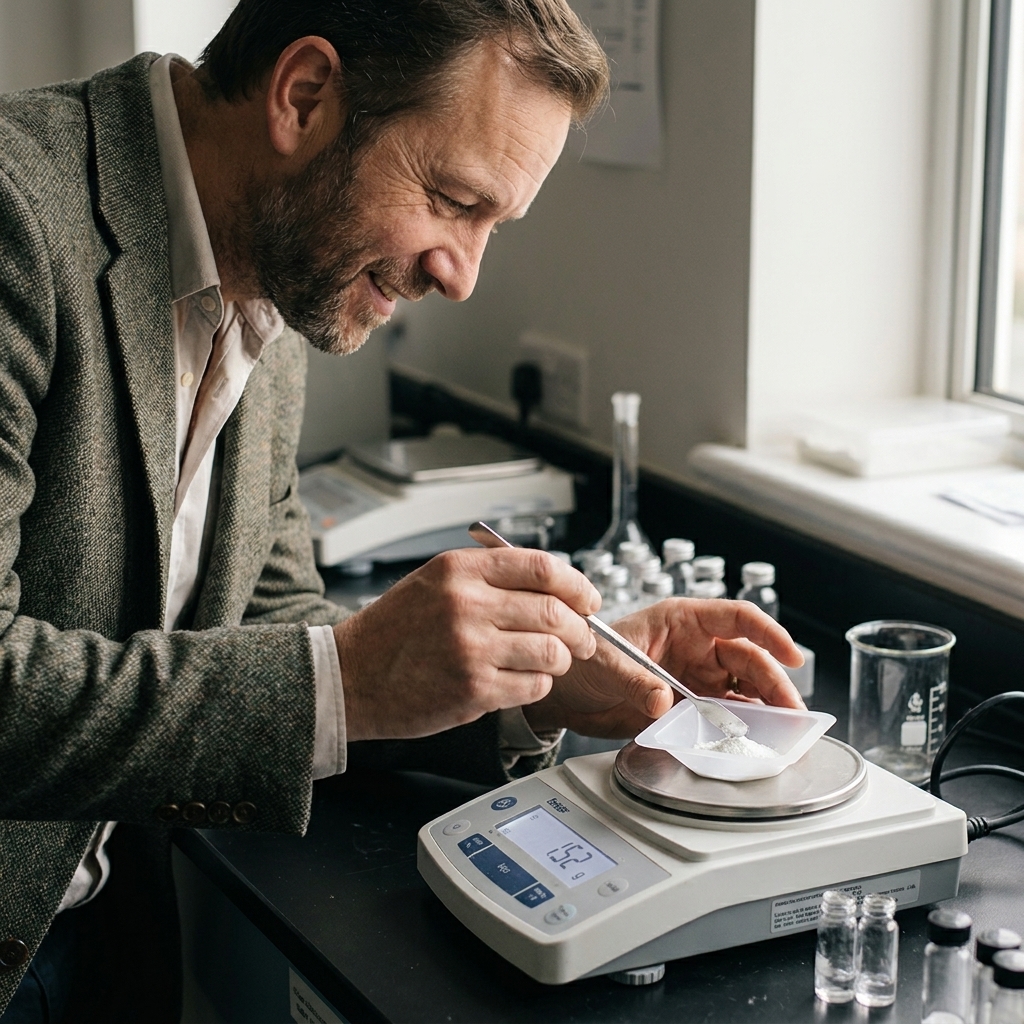
7) Balance and weighing tools
What it is: A balance measures mass. In many intro labs you will see a top-loading digital balance. Analytical balances are more sensitive and usually live behind draft shields.
Why it matters: Yield comparisons and most stoichiometry live here. Volume is useful, but mass (and moles) is what makes the math behave.
How to use it well
- Use a weigh boat or weighing paper: As a cleanliness rule, avoid putting chemicals directly on the pan.
- Tare correctly: Place the empty container first, hit tare, then add your solid.
- Avoid drafts: Air currents and vibrations cause jumpy readings.
- Close containers: Many solids absorb water from air or evaporate slowly.
Care and maintenance
- Clean spills immediately with a soft brush or cloth. Avoid harsh solvents unless approved for your instrument.
- Do not overload the balance.
- If you are doing precise work, calibrate as recommended by the manufacturer or lab protocol.
8) Stirring tools
What they are: At minimum, a glass stirring rod. Often, a magnetic stir bar and a stir plate if your lab has them.
Why they are essential: Good mixing improves reaction consistency, helps dissolving, and keeps hot spots from forming when you heat solutions.
How to use them well
- Stir gently: Especially in glass beakers. A rod can chip glass if you treat it like a drumstick.
- Use the rod for clean pours: Touch the rod to the beaker lip and let liquid run down it into your receiving container.
- Magnetic stirring: Start slow, then increase speed. If the stir bar starts “throwing,” back off before it becomes a tiny chemistry helicopter.
Care and maintenance
- Rinse rods and stir bars immediately. Dry them well before storage.
- Inspect rods for chips and cracks, especially at the ends.
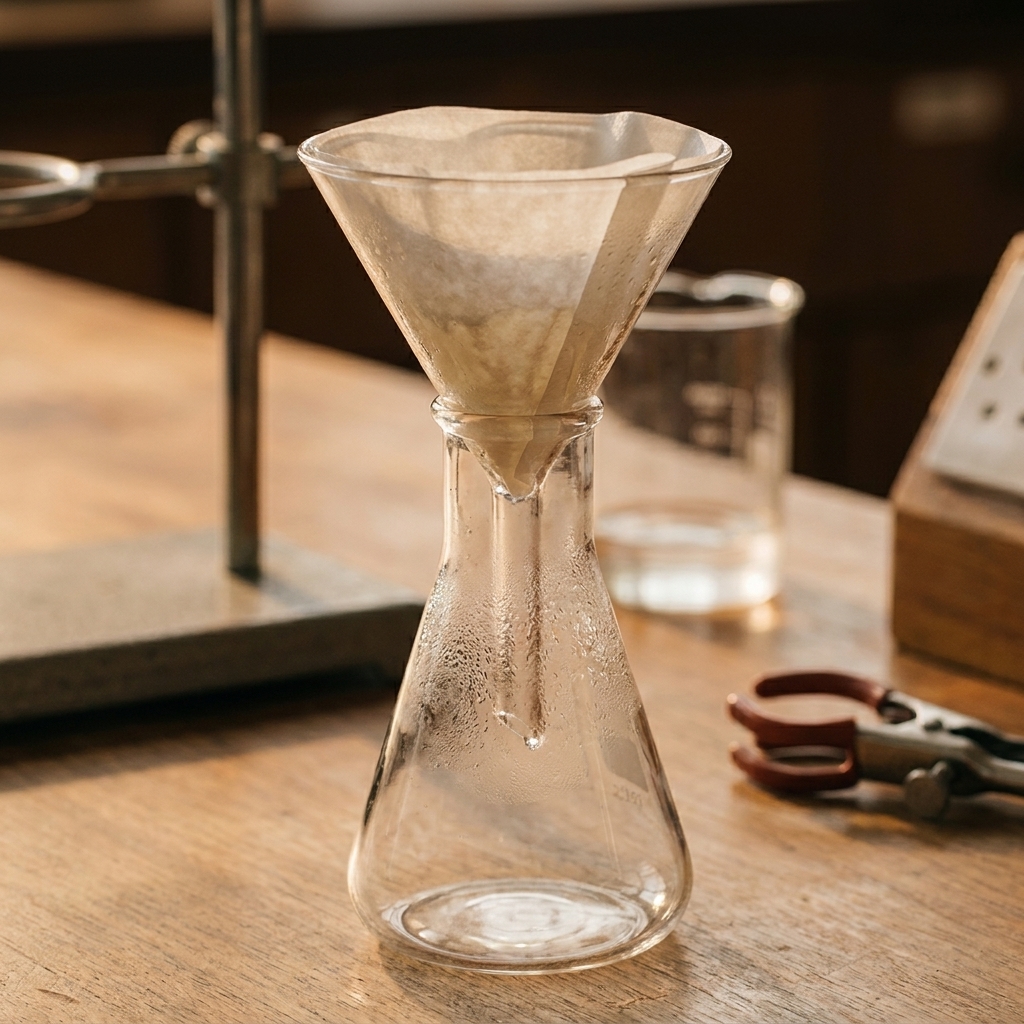
9) Funnel and filter paper
What it is: A funnel guides liquid into a smaller opening. Add filter paper and you have a simple filtration system for separating solids from liquids.
Where it shines: Recrystallization, precipitate collection, and cleaning up mixtures that look like swamp water.
How to use it well
- Choose the right funnel: A powder funnel has a wider stem to prevent clogs. A standard glass funnel works for most liquids.
- Seat the filter paper: Fold it, place it in the funnel, then wet it with the solvent to help it stick and seal.
- Pour down a stirring rod: This reduces splashing and helps keep solids from jumping the paper.
Care and maintenance
- Rinse funnels immediately. Dried crystals can behave like cement.
- Dispose of filter paper according to your lab’s waste rules. If it contacted chemicals, treat it as chemical waste unless your lab says otherwise.
10) Thermometer or probe
What it is: A lab thermometer or digital temperature probe for measuring solution temperature, bath temperature, and reaction conditions.
Why it is a must-have: Temperature quietly controls solubility, reaction speed, crystallization, and whether your “gentle warming” is actually a rolling boil.
How to use it well
- Do not use it as a stirrer: Measure temperature, then stir with a rod or stir bar.
- Mind the placement: Keep the sensor in the liquid, not pressed against the bottom of a hot beaker where readings can run high.
- Clamp when needed: If you are heating, use a clamp so your thermometer does not become a hand-held game of “do not drop it.”
Care and maintenance
- Rinse after use and store in a protective sleeve or case if glass.
- Check calibration if your work depends on it, especially for melting points or tight temperature ranges.
A simple maintenance routine
In my classroom days, the best labs were the ones where cleanup was part of the experiment, not an afterthought. Here is a routine that keeps tools working and measurements trustworthy:
- Rinse immediately: Most problems become easy if you act fast.
- Wash with lab detergent: Dish soap can leave residues that matter in sensitive experiments.
- Final rinse: Distilled water for glassware used in solution prep.
- Dry smart: Air-dry upside down on a rack. Do not towel-dry volumetric glassware if lint matters.
- Inspect: Chips and cracks are not cosmetic. They are failure points.
FAQ
Do I really need all 10 tools to start?
No. If you are just learning fundamentals, prioritize goggles (non-negotiable), then beakers, an Erlenmeyer flask, a graduated cylinder, a balance with weighing supplies, and a thermometer. Add heating and support equipment when your experiments require it.
Glass or plastic?
For many beginner tasks, plastic is fine and tougher against drops. For heating and many solvents, borosilicate glass is the safer bet. When in doubt, check chemical compatibility and temperature limits.
How do I know if my glassware is borosilicate?
Many pieces are labeled (often as “borosilicate” or with a brand). If it is not clearly rated for heat, do not put it over a flame. Sudden temperature changes are what usually crack glass.
What is the most common beginner mistake?
Using the wrong tool for measurement. Beakers are for holding and mixing, graduated cylinders and pipettes are for measuring. Treat accuracy like seasoning: use more when it matters.
Closing thought
A beginner chemistry lab is less about having everything and more about having the right things and treating them well. With these 10 tools, you can run a surprising number of foundational experiments safely, repeatably, and with results you can actually trust.
If you want, tell me what kind of chemistry you are most excited about: solutions, electrochemistry, polymers, or maybe the classic “things that change color.” I can help you build a tight starter list around that goal.