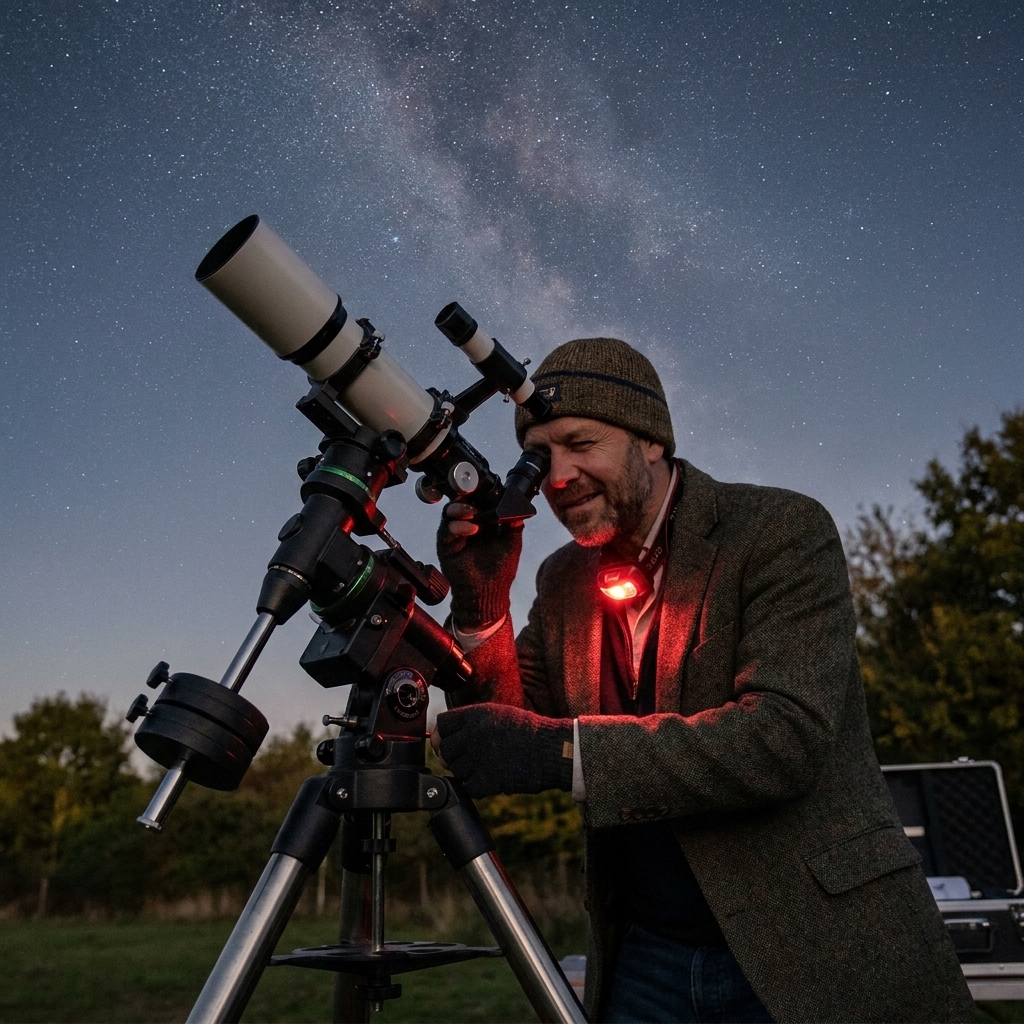
Buying your first telescope is a little like buying your first car. The brochure promises “top speed,” but what you really need is something you can drive comfortably, park easily, and use often. Telescopes work the same way. The best beginner scope is not the one with the biggest magnification number on the box. It is the one you will actually carry outside, set up without stress, and point at the Moon within five minutes.
Let’s turn telescope shopping into a friendly checklist, not a technical endurance event. By the end, you will know what to look for, which brands are reliably beginner-safe, and what setups make backyard astronomy feel fun instead of like homework.
Start with one simple question
What do you want to see most often? Your answer changes the best telescope choice more than any spec sheet.
- The Moon and planets (craters, Jupiter’s moons, Saturn’s rings): You want steady optics and a stable mount. Moderate aperture is fine, but shake is your enemy.
- Bright deep-sky objects (Orion Nebula, Andromeda Galaxy, star clusters): You want more light-gathering power, which usually means a larger aperture reflector.
- Mostly casual stargazing with zero fuss: Prioritize quick setup, low maintenance, and a mount that does not make you fight the telescope.
- Astrophotography: This is its own rabbit hole. For most beginners, it is smarter to start with visual observing first, then build toward a photo setup later.
If you are not sure, that is normal. The “best first telescope” for many people is one that is great at the greatest hits: Moon, planets, and a handful of deep-sky showpieces.
The main telescope types
Refractors (lens telescopes)
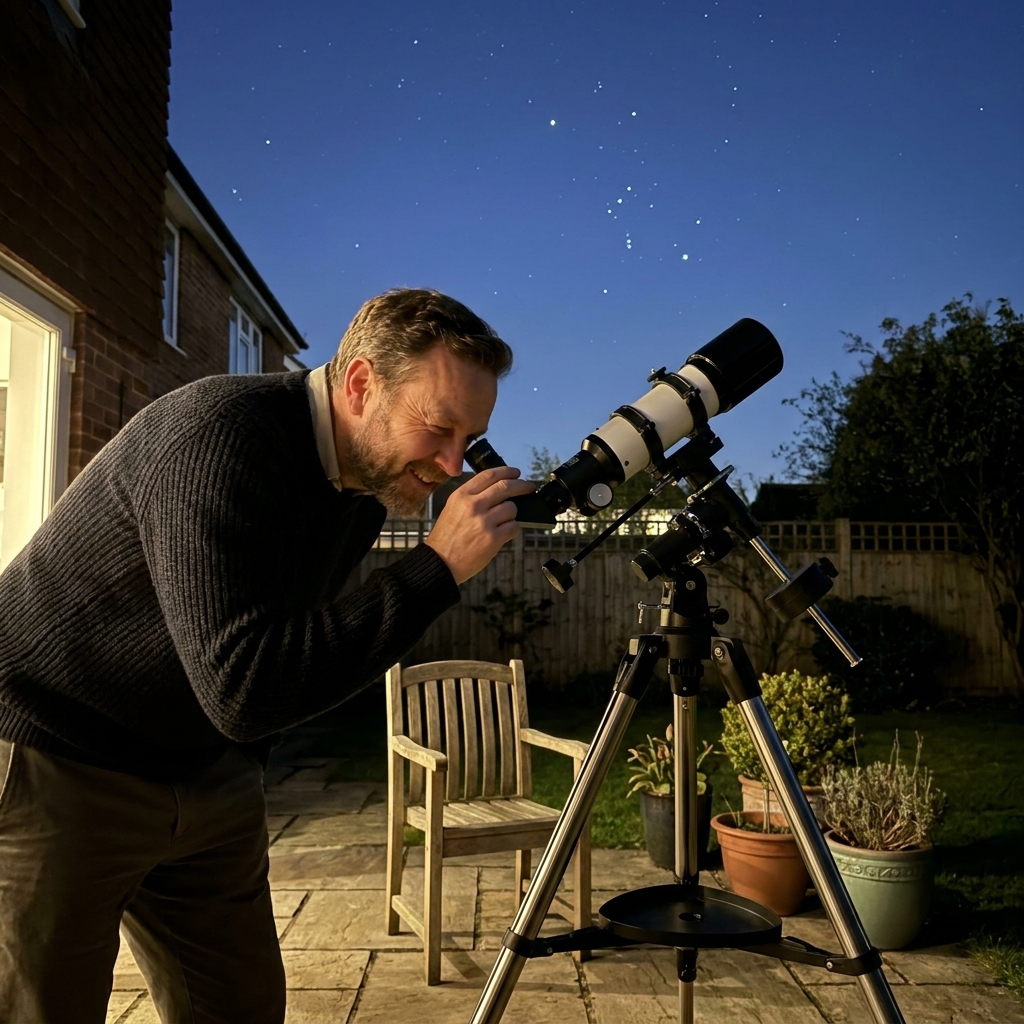
Refractors use lenses, like a giant camera lens. They are the “grab-and-go” darlings of astronomy because they are low maintenance and tend to hold alignment well.
- Pros: Crisp views, low upkeep, good for the Moon and planets, easy for beginners.
- Cons: Large refractors get expensive fast. Very cheap refractors often come with shaky mounts that ruin the experience.
- Best for: People who want clean planetary views and simple setup.
Reflectors (mirror telescopes)
Reflectors use mirrors to gather light. Dollar for dollar, they usually give you the most aperture, which means brighter deep-sky views.
- Pros: Big light-gathering for the price, great for nebulae and galaxies, very common.
- Cons: Needs occasional collimation (alignment). Not hard, but it is a learnable skill.
- Best for: Anyone who wants deep-sky power on a budget.
Dobsonians (a reflector on a simple base)
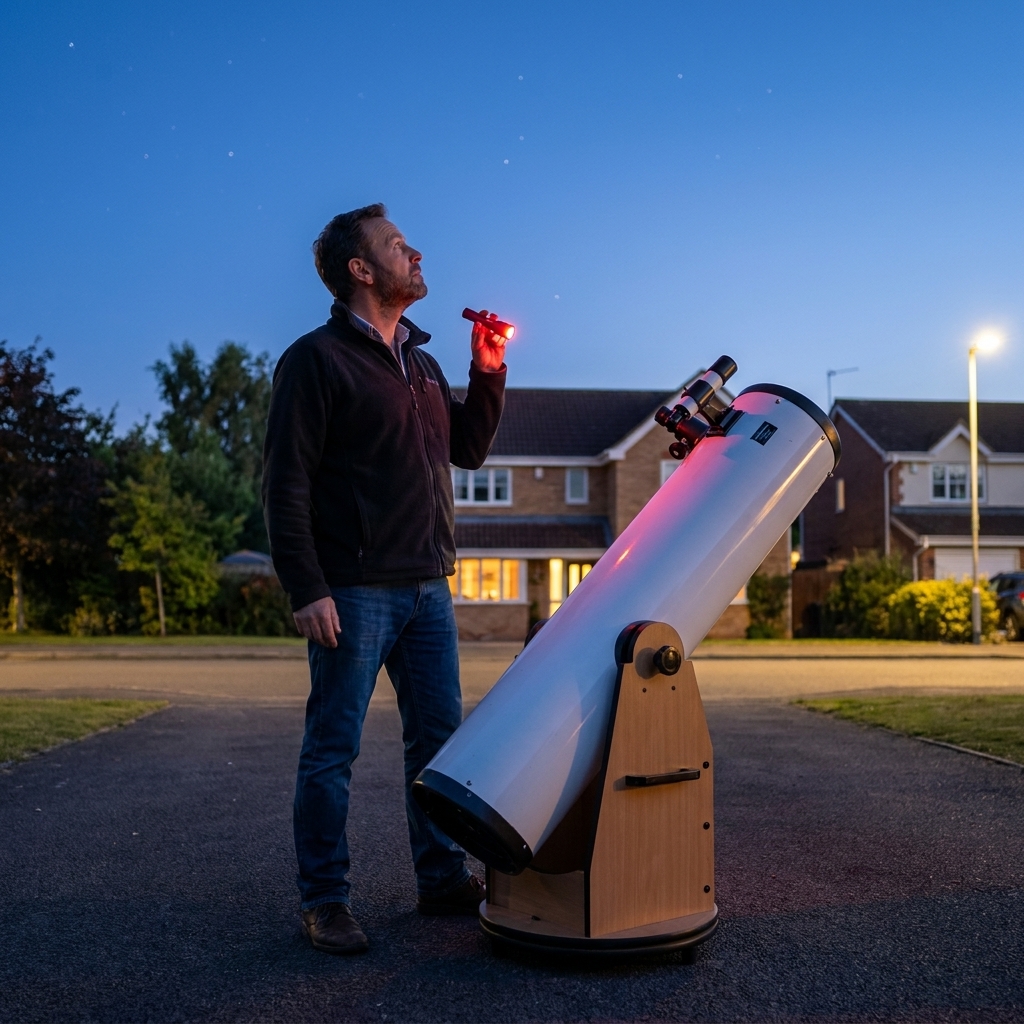
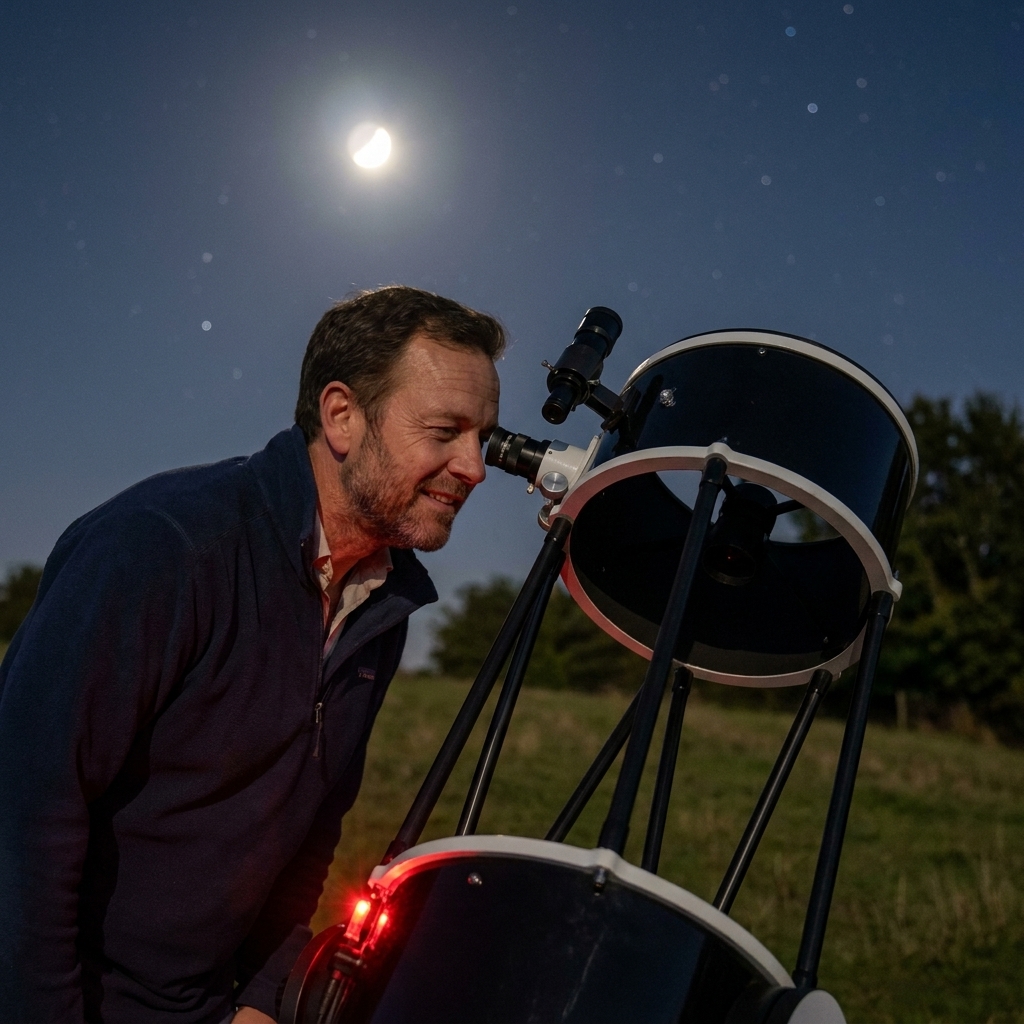
A Dobsonian is a reflector telescope on a sturdy, easy-to-use mount that you push by hand. If you have heard “Get an 8-inch Dob,” this is why: it is one of the best “wow per dollar” moves in amateur astronomy.
- Pros: Stable, simple, large aperture for the cost, quick setup, extremely beginner-friendly for visual observing.
- Cons: Bulky. No automatic tracking unless you upgrade. Not ideal for long-exposure astrophotography.
- Best for: Backyard observers who want big, bright views without complicated gear.
Specs that matter
1) Aperture: the real superstar
Aperture is the diameter of the main lens or mirror, usually in millimeters or inches. Bigger aperture collects more light, revealing fainter objects and more detail. If there is one number to care about, it is this one.
- Good beginner range: 80 to 102 mm refractor (70 mm is very entry-level), 130 to 200 mm reflector, 6 to 10 inch Dobsonian.
- My sweet spot for many beginners: An 8-inch (200 mm) Dobsonian if you can store and carry it.
2) Focal length and f-ratio
Focal length affects magnification and field of view with a given eyepiece. F-ratio (f/5, f/8, etc.) is focal length divided by aperture and hints at how wide your views can be.
- Lower f-ratio (like f/5): Wider field, great for star clusters and sweeping the Milky Way, but eyepieces matter more near the edges.
- Higher f-ratio (like f/8 to f/10): Often easier on eyepieces, naturally good for planets, typically narrower field.
3) Magnification: the most abused number
Magnification is not a telescope feature. It is a telescope-and-eyepiece combo: Magnification = telescope focal length ÷ eyepiece focal length.
What beginners need to hear plainly: usable magnification depends on seeing (the atmosphere), optical quality, and aperture. On many nights, especially in average suburban conditions, you will find your best views somewhere around 120× to 200×, with 150× to 250× often being the practical high end. On excellent nights with good optics, more can be possible. On rough nights, even 100× can look mushy.
If a box screams “675×,” treat it like a flashy speedometer. It does not mean you will enjoy driving there.
4) Mount and tripod: the quiet deal-breaker
If the telescope shakes every time you touch the focuser, the sky turns into a moving target. A solid mount matters as much as the optics.
- Alt-az mounts: Move up-down and left-right. Intuitive and beginner-friendly.
- Equatorial mounts: Great for tracking once aligned, but more complex. Often chosen for astrophotography, not necessary for a first visual setup.
- Dobsonian bases: One of the best stability bargains in the hobby for visual observing.
5) Eyepieces and focuser size
Many starter scopes include basic eyepieces. They work, but a couple smart upgrades can transform your experience.
- 1.25-inch eyepieces: Standard for most beginner scopes.
- 2-inch eyepieces: Allow wider views, especially nice on Dobsonians and short focal length reflectors.
A quick buy roadmap
Under $200: be picky
You can still have fun, but this price range is where shaky tripods and flimsy mounts show up the most. The goal is to buy something you will not dread using.
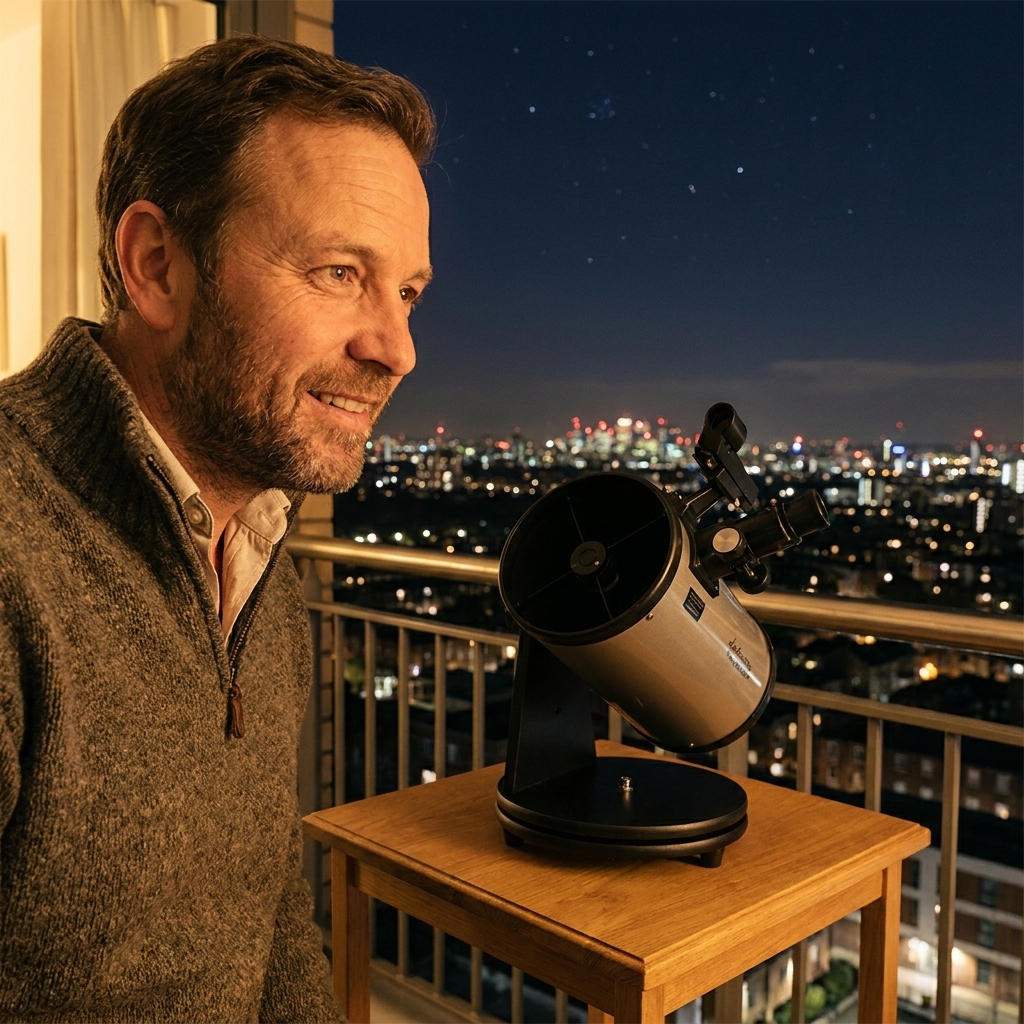
- Best bet: A small tabletop reflector (often 114 to 130 mm) on a sturdy base.
- Also solid: A modest refractor (70 to 90 mm) only if it comes on a genuinely stable alt-az mount. In this bracket, buying used can be the easiest way to get a steadier setup.
- What you will love: Moon detail, Jupiter’s moons, Saturn’s rings on steadier nights, bright clusters.
$200 to $500: the “I want to be impressed” zone
This is where beginner astronomy starts to feel genuinely special.
- Top pick for many: A 6-inch or 8-inch Dobsonian.
- Alternative: A quality 90 to 102 mm refractor on a stable mount for quick planetary sessions.
$500 to $1,000: comfort and capability
Here you start paying for smoother mechanics, better accessories, and often better optical consistency.
- Dobsonian upgrade: An 8 to 10 inch Dob, possibly with nicer focuser, finder, and smoother motions.
- Computerized options: “Push-to” or GoTo scopes can help with finding targets, especially under light pollution, but they add setup steps and power requirements.
Over $1,000: pick a direction
At this level, decide if your passion is visual observing (bigger, better Dob or premium optics) or astrophotography (mount-first purchases). The mount becomes the foundation for photography, like a tripod for a professional camera.
Where to buy
If you want the smoothest first experience, buy from a specialist astronomy retailer or a well-reviewed telescope shop, not a random big-box bundle with flashy claims. Specialty sellers tend to stock better mounts, better accessories, and they usually know what “beginner-friendly” actually means.
Buying used can be a cheat code, especially for Dobsonians and midrange refractors. Look for local astronomy clubs, reputable classifieds, and sellers who can show that the mount is steady and the optics are in good shape.
Trusted brands
In beginner astronomy, brand trust is less about prestige and more about avoiding frustrating lemons: poor mounts, shaky tripods, bad accessories, and inconsistent quality control.
Generally reliable for beginners
- Celestron: Wide range from entry-level to advanced. Their Dobsonians and midrange refractors are common starting points. GoTo options are popular, just be ready to learn the system.
- Sky-Watcher: Excellent value Dobsonians and solid refractors. Often recommended for straightforward, no-drama performance.
- Meade: Known historically for Schmidt-Cassegrains and computerized scopes. Shopping used, you will see many Meade models with strong followings.
- Apertura (often sold via specialty retailers): Frequently praised for well-equipped Dobsonians with useful included accessories.
- Zhumell: Dobsonians that often include nice starter accessories for the price.
- Orion (used market): Orion Telescopes & Binoculars closed in early 2024, but their scopes are still common and often a good value used. You will see many classic Orion Dobsonians and reflectors on the secondhand market.
A quick caution about “department store” telescopes
There are exceptions, but many ultra-cheap kits prioritize flashy magnification claims over a stable mount and usable optics. A wobbly scope can turn the Moon into a vibrating blur. If you are shopping on a tight budget, look for stability and aperture over shiny packaging.
Beginner picks
Option A: The classic backyard scope
- Type: 8-inch Dobsonian reflector
- Why: Big light bucket, stable, simple, upgrades nicely
- Great for: Moon, planets, nebulae, galaxies, star clusters
Option B: The grab-and-go planet scope
- Type: 90 to 102 mm refractor on a sturdy alt-az mount
- Why: Quick setup, low maintenance, crisp lunar and planetary views
- Great for: Weeknight sessions, casual viewing, learning the sky
Option C: The small-space saver
- Type: 114 to 130 mm tabletop reflector
- Why: Excellent capability in a compact footprint
- Great for: Moon, planets, brighter deep-sky objects, portability
Accessories worth buying
You do not need a suitcase of gear to start. A few well-chosen add-ons matter far more than a pile of gadgets.
Must-have basics
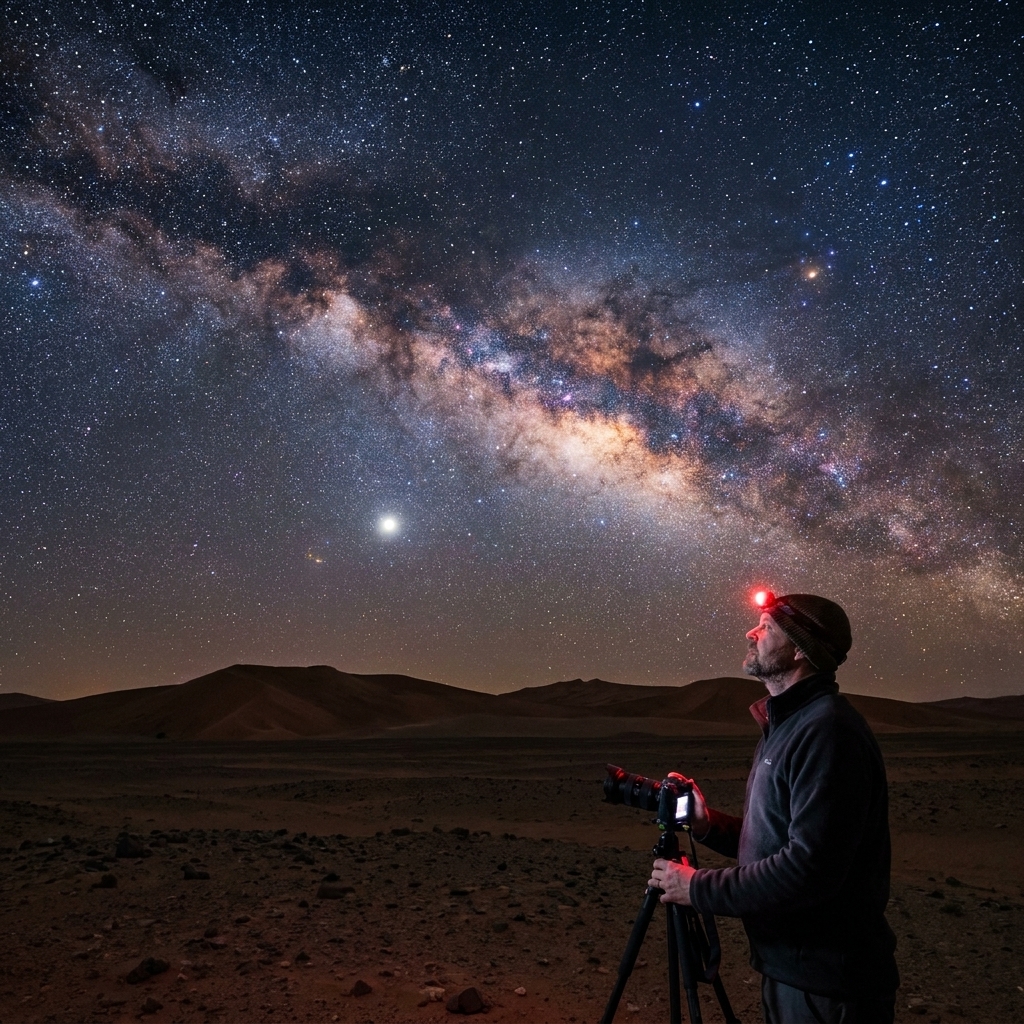
- A red flashlight: Protects your night vision while you read charts or adjust gear.
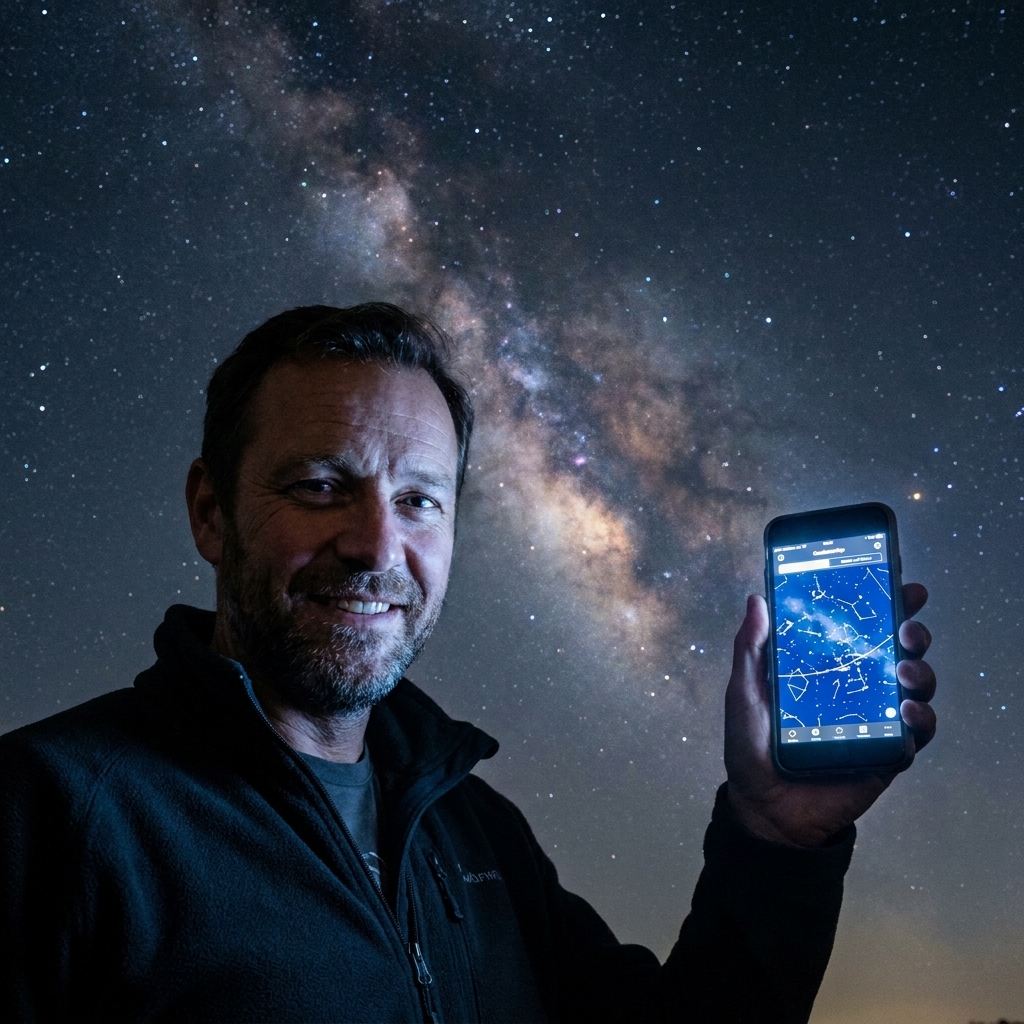
- A simple star app or planisphere: Helps you learn the sky and hop to targets.
- Comfort: A stable chair is secretly a performance upgrade. When you are comfortable, you see more.
High-impact optical upgrades
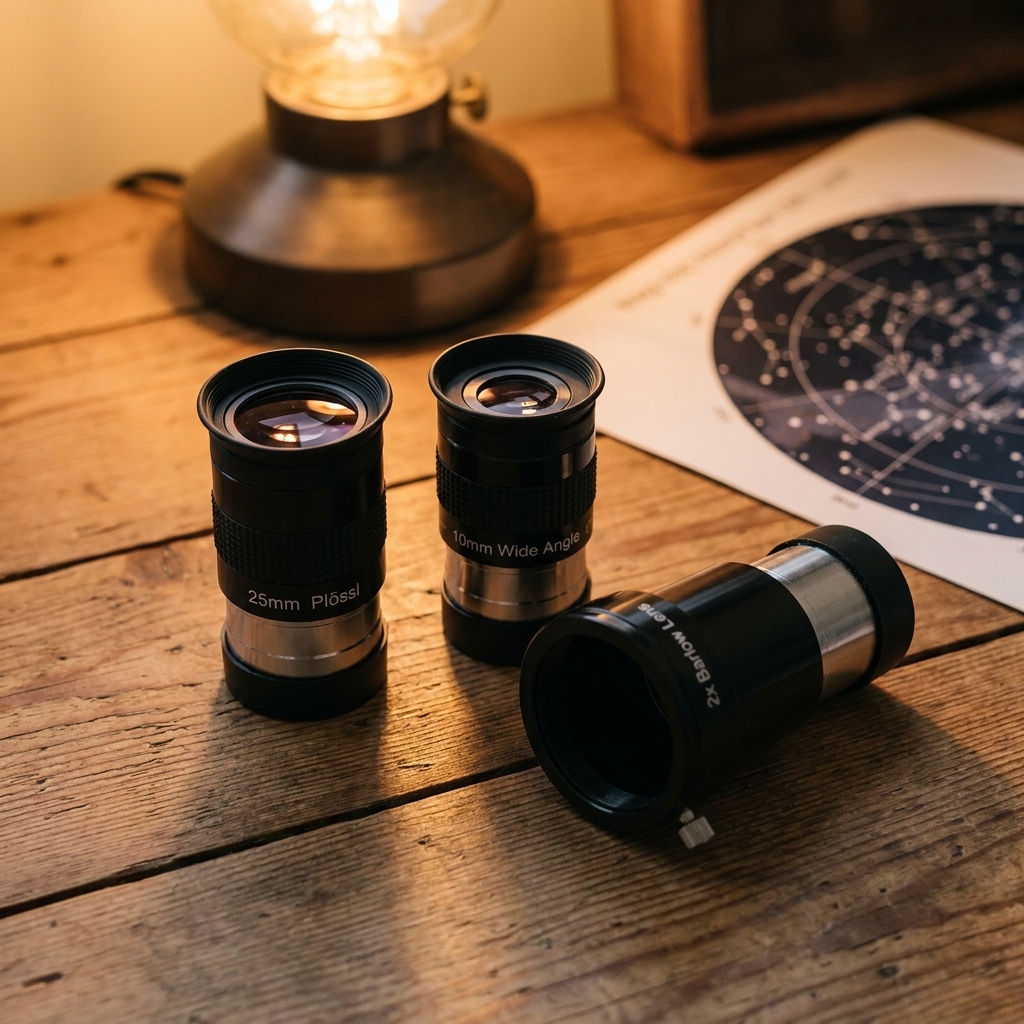
- A quality low-power eyepiece (wide view): Makes finding objects easier and makes star fields feel immersive.
- A quality mid-power eyepiece: Great for lunar detail and many galaxies and clusters.
- A 2× Barlow (optional): Can expand your magnification options, but only if it is decent quality.
Filters, GoTo, and other temptations
- Moon filter: Nice for comfort on bright lunar nights, not required.
- Planetary color filters: Usually not necessary for beginners.
- GoTo mounts: Helpful for light-polluted skies and for learning, but they add cost, alignment steps, and power needs.
Cooling and patience
One small surprise with reflectors and Dobsonians: they often need a bit of time to reach the outdoor temperature. If you carry a warm telescope into cool night air, the views can look soft at first. Give it 20 to 60 minutes and you may watch the image sharpen as the scope settles in.
Light pollution and expectations
Here is a truth that saves a lot of disappointment: most galaxies and nebulae will not look like the saturated, high-contrast photos you see online. Your eye is an incredible detector, but it is not doing long exposures.
Under city skies, you will still get:
- Fantastic Moon and planet views
- Bright star clusters
- Some nebulae and the brightest galaxies, especially with more aperture
If you can travel even 30 to 60 minutes to darker skies, your telescope will feel like it leveled up overnight.
Safety basics
Never point a telescope at the Sun without a proper full-aperture solar filter. Not sunglasses. Not an eyepiece filter. A real solar filter designed for telescopes, installed securely over the front of the scope. Sunlight through a telescope can cause instant, permanent eye damage.
Common beginner mistakes
- Buying for magnification instead of aperture and stability.
- Underestimating the mount. Great optics on a bad mount still feels like a bad telescope.
- Skipping collimation knowledge. If you choose a reflector, learning basic collimation is like learning to inflate bike tires. It is maintenance, not drama.
- Observing over rooftops or heat sources. Warm air currents distort views. Set up over grass when you can.
- Expecting instant deep-sky success. Finding faint objects is a skill. The first time you spot the Andromeda Galaxy, it might look like a smudge. Then it becomes your favorite smudge because your brain realizes what it is.
A simple first-night plan
If you want that first “aha!” moment quickly, follow this sequence:
- The Moon: Practice focusing and tracking. Look along the terminator, the line between light and dark, where shadows reveal crater depth.
- Jupiter (when visible): Find its four bright moons. Watch them change night to night.
- Saturn (when visible): Rings. Enough said.
- A bright cluster: The Pleiades or the Beehive Cluster are great targets when they are up.
- Orion Nebula (seasonal): A classic “nebula in your own backyard” moment.
FAQ
Is a telescope or binoculars better for a beginner?
If you are on a tight budget or want zero setup, binoculars are fantastic for learning constellations and finding bright clusters. If you want planets and real lunar detail, a telescope will deliver bigger “wow” moments.
What aperture do I need to see Saturn’s rings?
You can see Saturn’s rings with surprisingly modest gear. A 70 to 90 mm refractor or a 114 mm reflector can show them on steadier nights. More aperture gives you more detail and a brighter, cleaner view.
Do I need GoTo to find things?
No. Many people learn faster without it because they build sky familiarity. GoTo can be great if you have limited time, heavy light pollution, or you just want help locating targets. The tradeoff is more setup and more electronics.
Can I do astrophotography with my first telescope?
You can take nice Moon and planet snapshots with many beginner scopes and even a smartphone adapter. Serious deep-sky astrophotography is usually mount-first and can cost more than a visual setup. It is absolutely doable, but it is a separate gear path.
The bottom line
If you remember only three things, make them these:
- Aperture beats magnification claims.
- A solid mount makes the sky enjoyable.
- The best telescope is the one you will use often.
If you have the space and budget, an 8-inch Dobsonian is the most common “first telescope that still feels amazing years later.” If you need something lighter and simpler, a 90 to 102 mm refractor on a sturdy mount is a joyful place to start.
And if you ever catch yourself outside at midnight whispering, “Okay, one more target,” welcome to the club. That is how it starts.