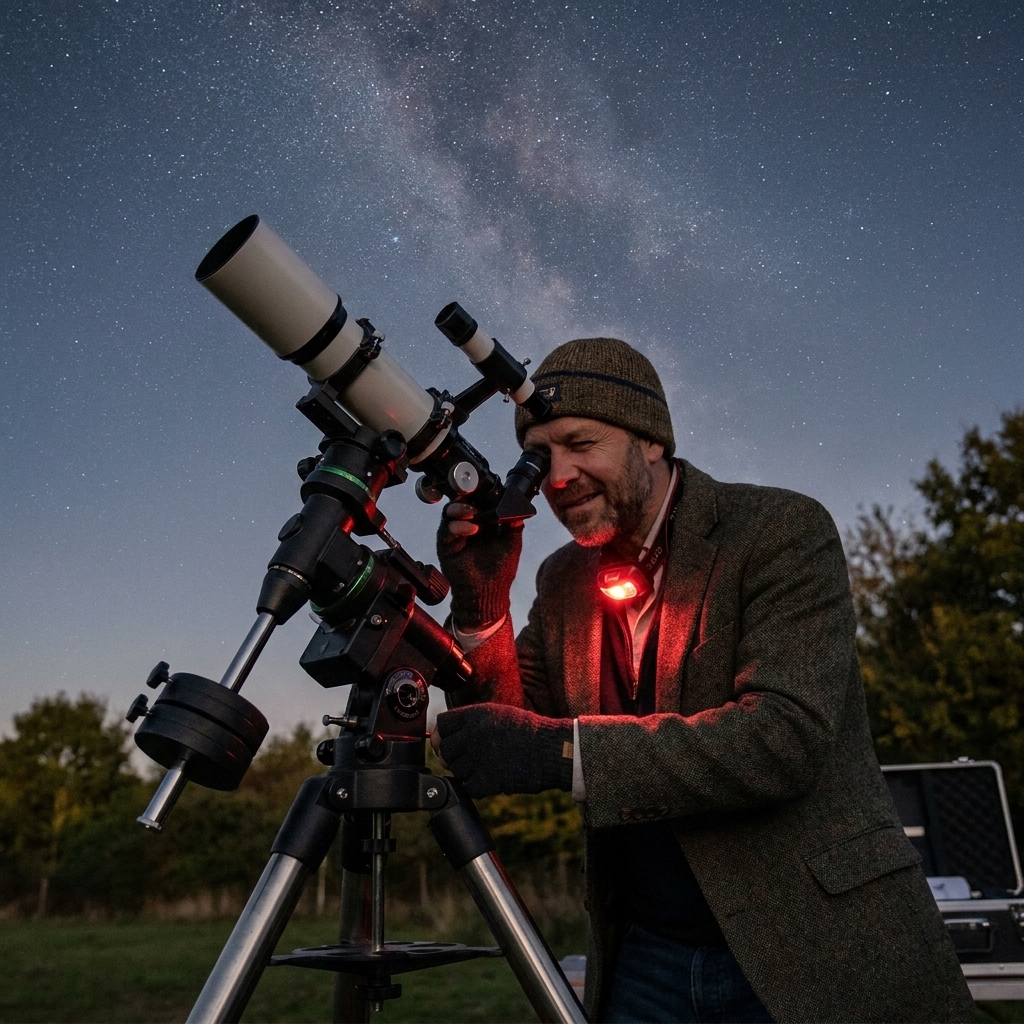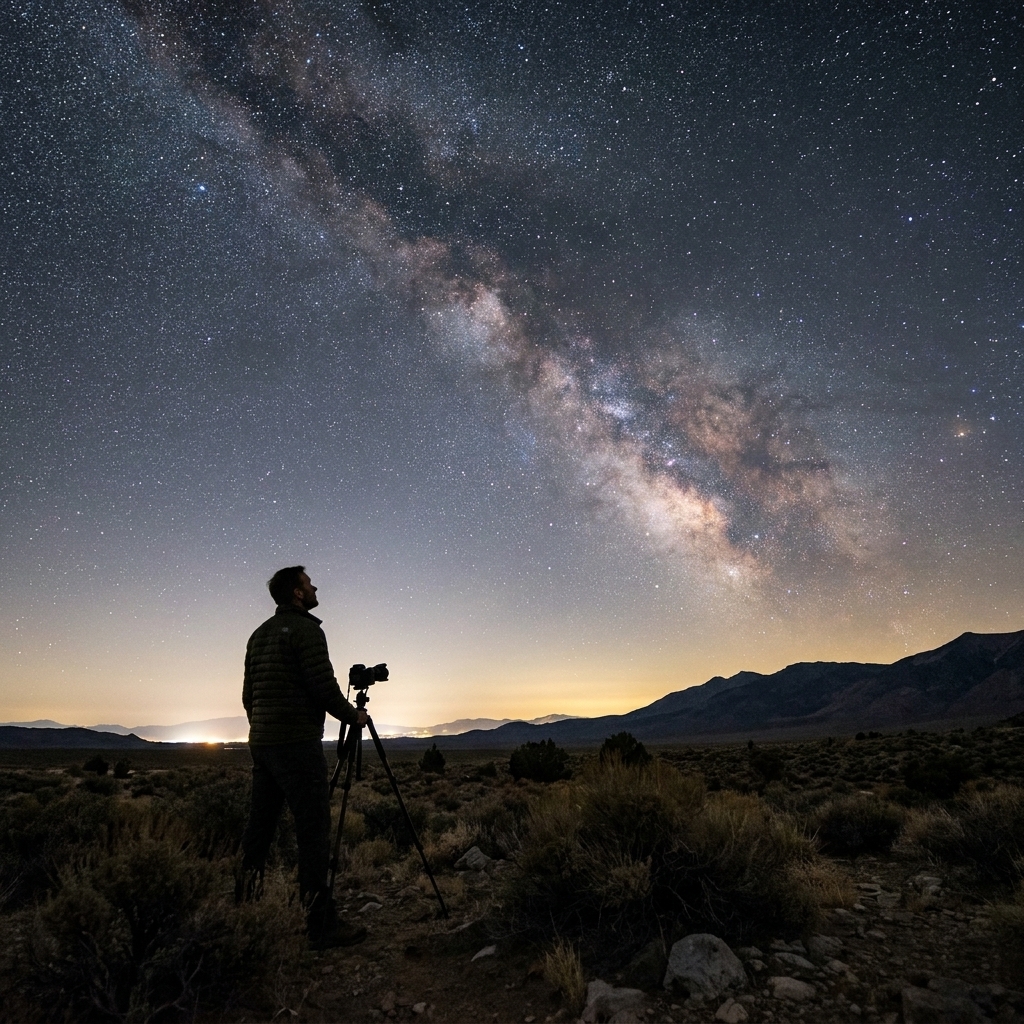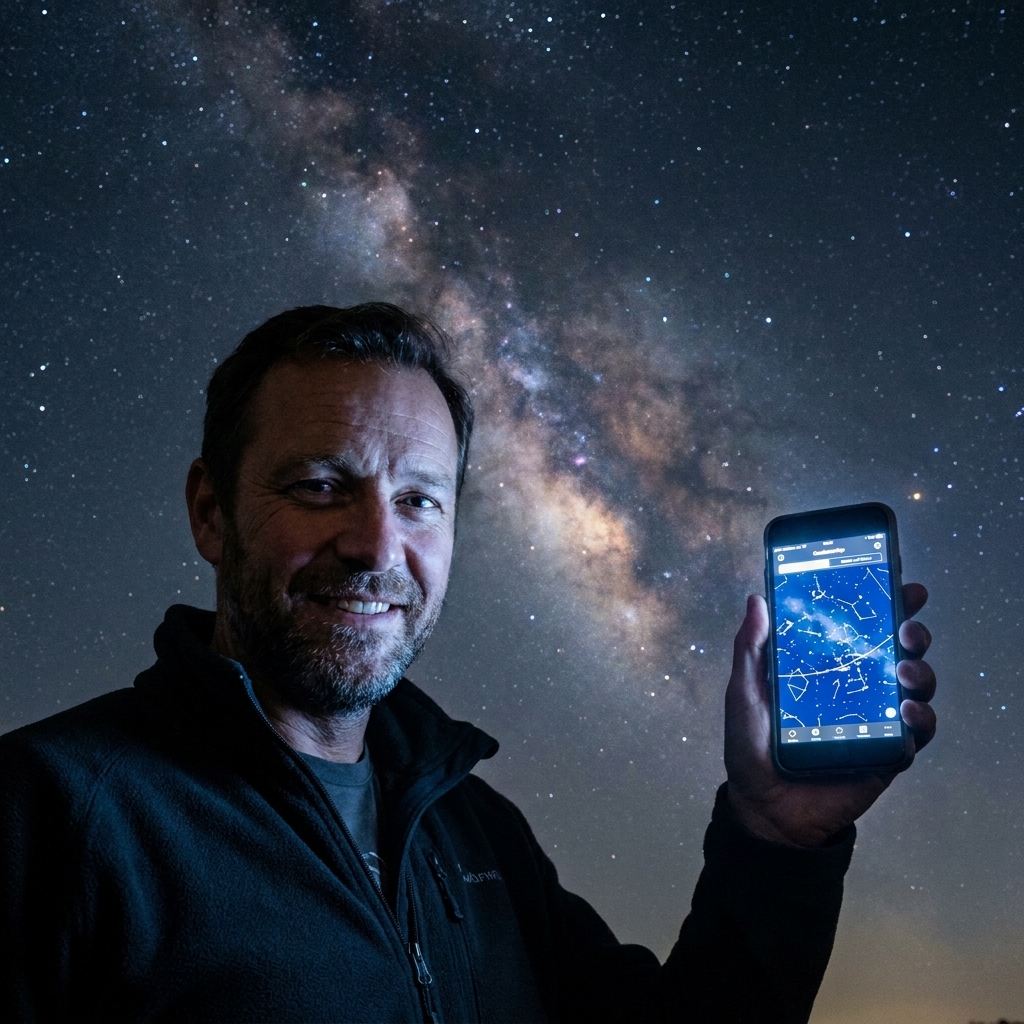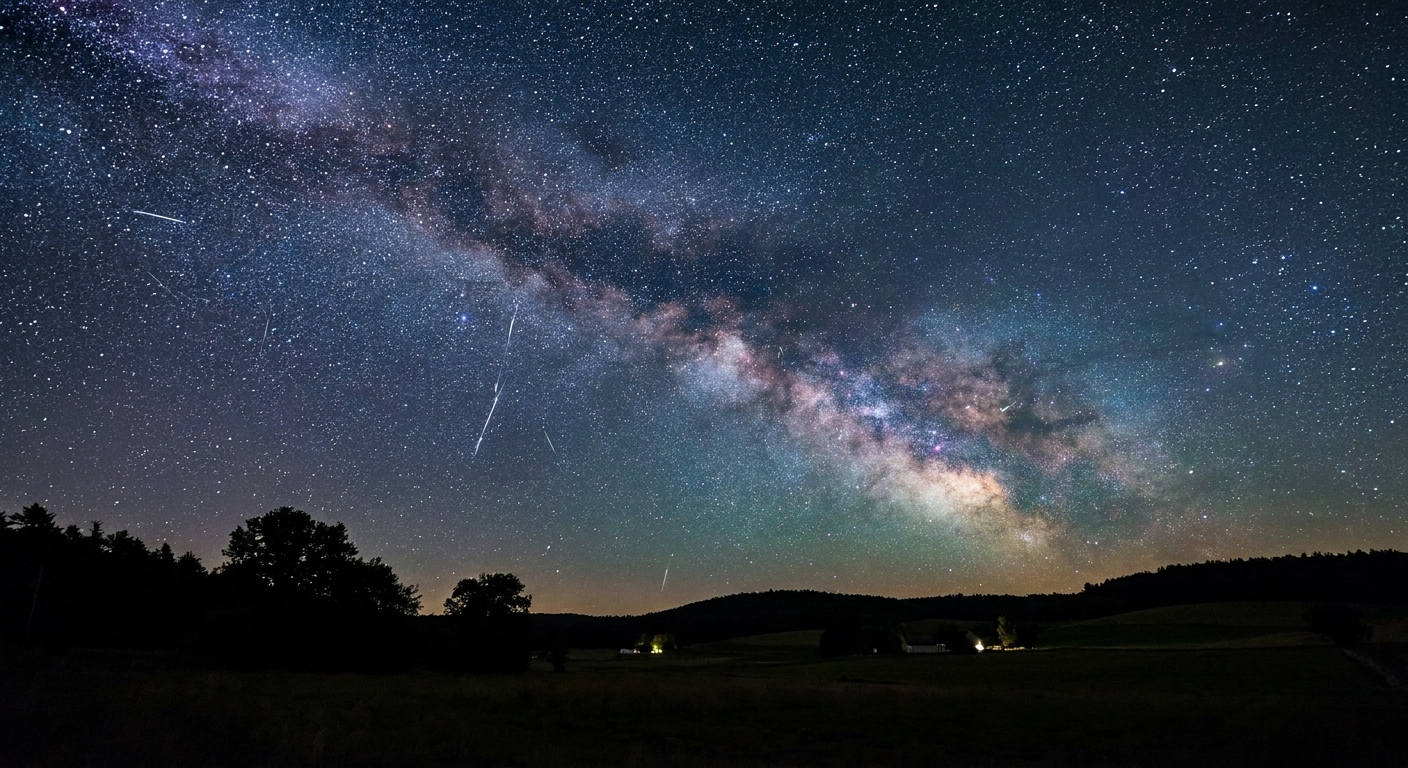
Photographing the Milky Way is one of those rare science moments you can take home. You are capturing the combined light of an unfathomable number of stars, plus the dark lanes of interstellar dust that carve the galaxy into structure. To your eyes, it reads as a soft band because we are looking through a dense star field and our vision is not built for long, patient exposures. The good news: you do not need a space telescope. A DSLR (or mirrorless), a wide lens, and a few reliable settings will get you there.
This guide walks you through the exact workflow I use, from planning to focusing to dialing in exposure. Think of it like a lab procedure, but with more mosquitoes and a better view.
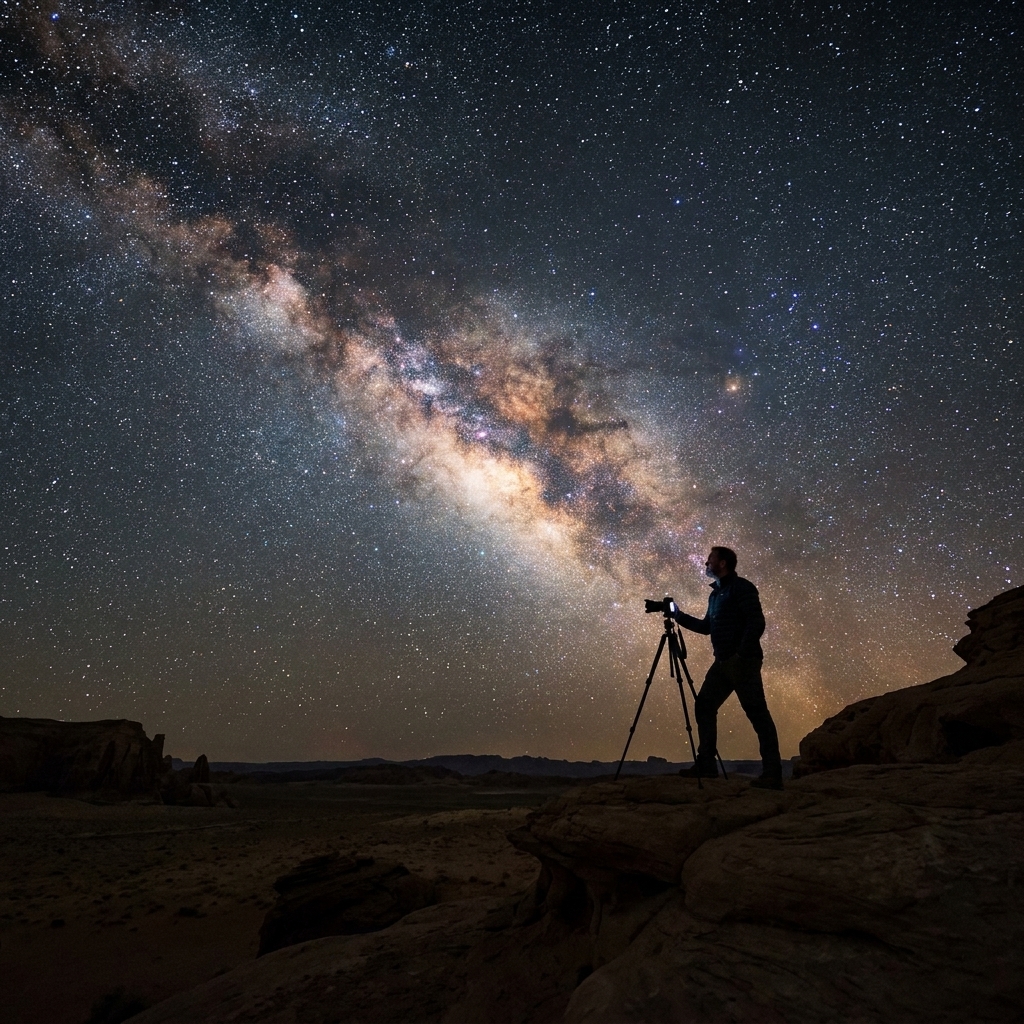
What you need (and what helps)
The essentials
- DSLR or mirrorless camera with manual controls. Full-frame helps, but APS-C is absolutely capable.
- Wide-angle lens (ideally 14 to 24 mm on full-frame, or 10 to 18 mm on APS-C) with a bright aperture (f/2.8 or faster is great, f/1.8 is fantastic).
- Sturdy tripod. The sky is not moving fast, but the Earth is. Relative to your camera, that matters. Your camera cannot wiggle.
- Remote shutter release or a 2-second self-timer to avoid shaking the camera.
Nice-to-have upgrades
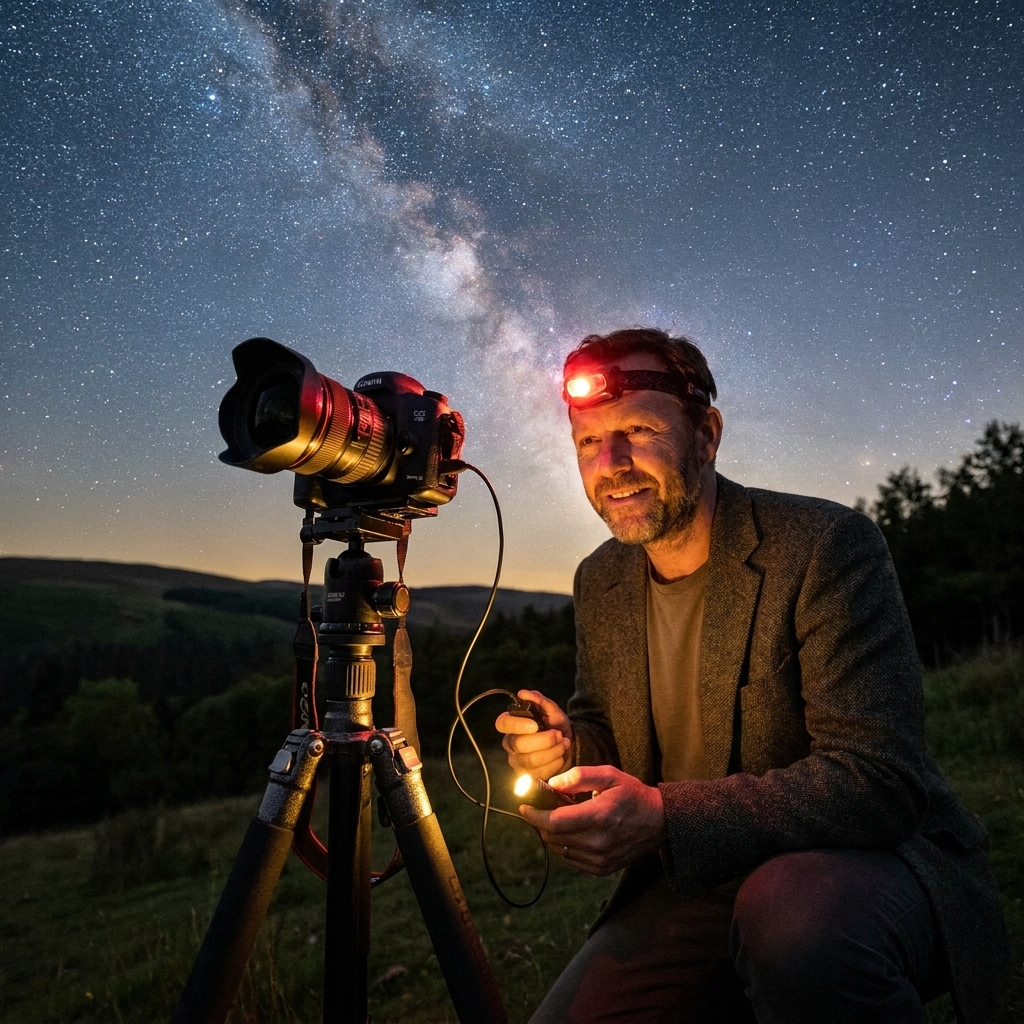
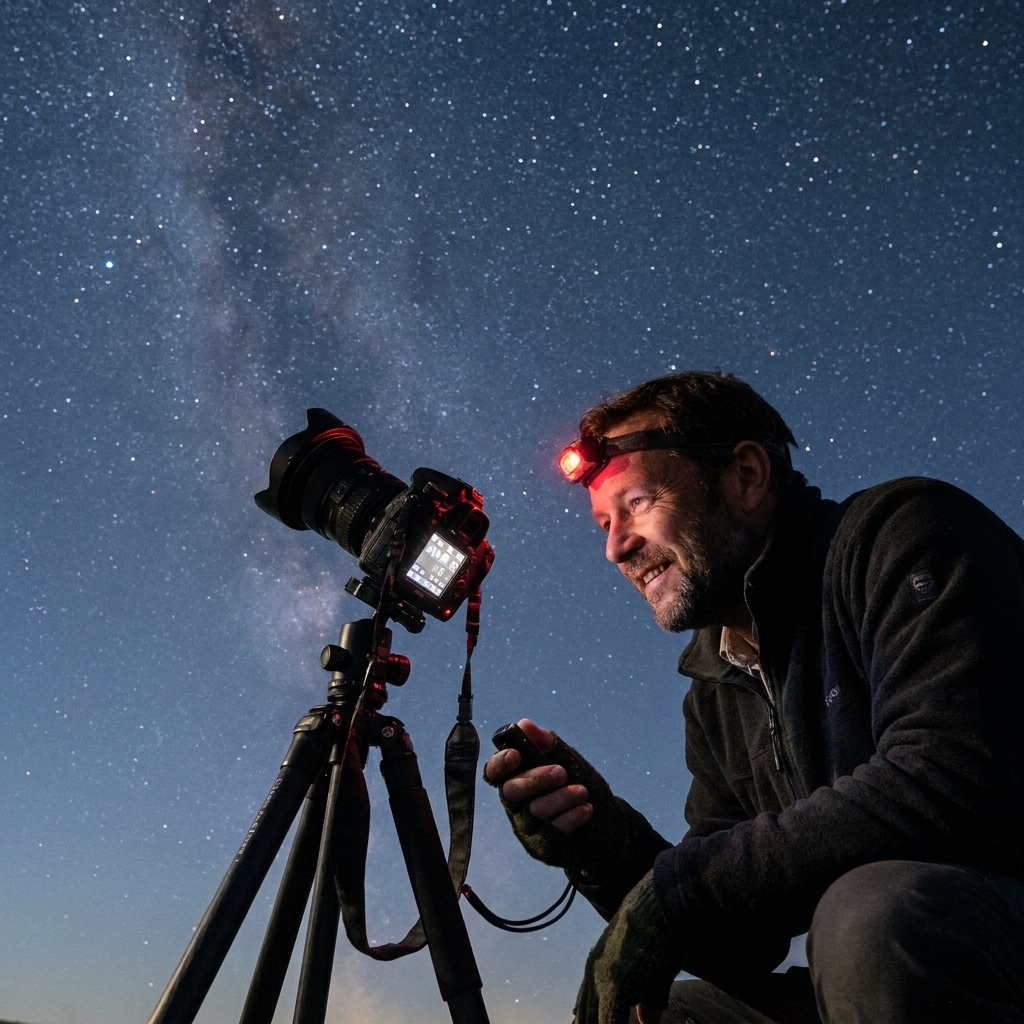
- Headlamp with a red light mode to preserve night vision.
- Extra batteries. Cold nights drain them quickly.
- Lens heater or hand warmers to fight dew and fogging.
- Star tracker (optional). This is the level-up tool for longer exposures and cleaner images, but you can get beautiful results without it.
Plan the shot
Milky Way photos are won or lost before you even take the lens cap off. You want darkness, clear air, and the right timing.
1) Find dark skies
Light pollution washes out faint starlight. If you can, drive away from city glow. Even 30 to 60 minutes can make a huge difference. Darker skies mean you can use lower ISO for the same brightness, which usually means cleaner images.
2) Respect the Moon
The Moon is basically a giant streetlight in the sky. For a classic Milky Way shot, aim for a new moon or when the Moon has already set. If the Moon is up, you can still shoot, but the galaxy’s contrast will be reduced. (A small crescent can be a nice compromise if you want gentle foreground light.)
3) Season and timing
The Milky Way is always there in the sense that our galaxy does not clock out, but its best part for photos, the bright central region (the galactic core), is not always visible at night. Visibility depends on your latitude, the time of year, the time of night, and whether the core is blocked by your local horizon.
In much of the Northern Hemisphere, the core is most photogenic from late spring through early fall, often late evening through pre-dawn. In the Southern Hemisphere, it can be even more prominent.
4) Use planning tools (briefly, on purpose)
If you want to remove guesswork, use a sky app to confirm where and when the core rises and how it will arc across your scene. PhotoPills, Stellarium, Sky Guide, and similar tools all work. Pair that with a cloud forecast (Clear Outside is a common pick) and a light pollution map, and you are stacking the odds in your favor.
5) Add a foreground on purpose
A Milky Way photo is more compelling when it has something grounded: a tree, a cabin, a ridgeline, a desert road. Scout in daylight if you can. Nighttime is not when you want to discover a fence, a cliff edge, or an unexpected puddle.
6) Night safety and logistics
- Tell someone where you are going and when you plan to be back.
- Bring warm layers even in summer. Standing still on a tripod schedule gets cold fast.
- Know your footing. Move slowly, use a headlamp, and keep your tripod legs out of trip zones.
- Respect private property, gates, and local rules. Astrophotography is more fun when it is not trespassing.
Camera setup
Here is the reliable baseline. Once you get a decent exposure, you can fine-tune from there.
- Mode: Manual (M)
- File type: RAW (crucial for editing)
- White balance: 3500 to 4500K (or Auto if you are unsure, but set a Kelvin value when you can for consistency)
- Aperture: as wide as your lens allows (f/1.4, f/1.8, f/2, or f/2.8)
- Shutter speed: 10 to 25 seconds (based on focal length)
- ISO: 1600 to 6400 (start at 3200)
- Focus: Manual focus (MF), focused on the stars
- Image stabilization: OFF (if on a tripod)
- Long exposure noise reduction: Usually OFF for efficiency. You can handle noise in post, or use dark frames later.
If you only remember one idea: you are trading three dials against each other (aperture, shutter, ISO) to gather enough light without turning stars into short dashes.
Shutter speed limits
Because Earth rotates, stars drift across your frame. At wide focal lengths, that drift is small, so you can use longer shutter speeds. Two quick ways to estimate:
The 500 rule (fast and rough)
Max shutter (seconds) ≈ 500 ÷ (focal length × crop factor)
- Full-frame at 20 mm: 500 ÷ 20 = 25 seconds
- APS-C at 18 mm (crop 1.5): 500 ÷ (18 × 1.5) ≈ 18 seconds
This rule is convenient, but modern high-resolution sensors can reveal trailing sooner. Pixel pitch, how large you view the image, and where you aim (stars near the celestial equator appear to move faster) all change what looks acceptable. If you want tighter stars, use a more conservative number like 400 or 300.
If you want to be extra precise, look up the NPF rule. It bakes in aperture and sensor detail and often gives a shorter, sharper answer than the 500 rule.
A practical approach (my favorite)
Take a test shot at 20 seconds, zoom in on the playback at 100 percent, and look at bright stars near the edges of the frame. If they look like rice grains instead of dots, shorten the shutter.
Focus in the dark
Autofocus usually fails on a dark sky, so you will focus manually. This is where sharp Milky Way images are made.
Method A: Live View on a bright star
- Switch to manual focus.
- Turn on Live View.
- Point at a bright star (or a distant light on the horizon).
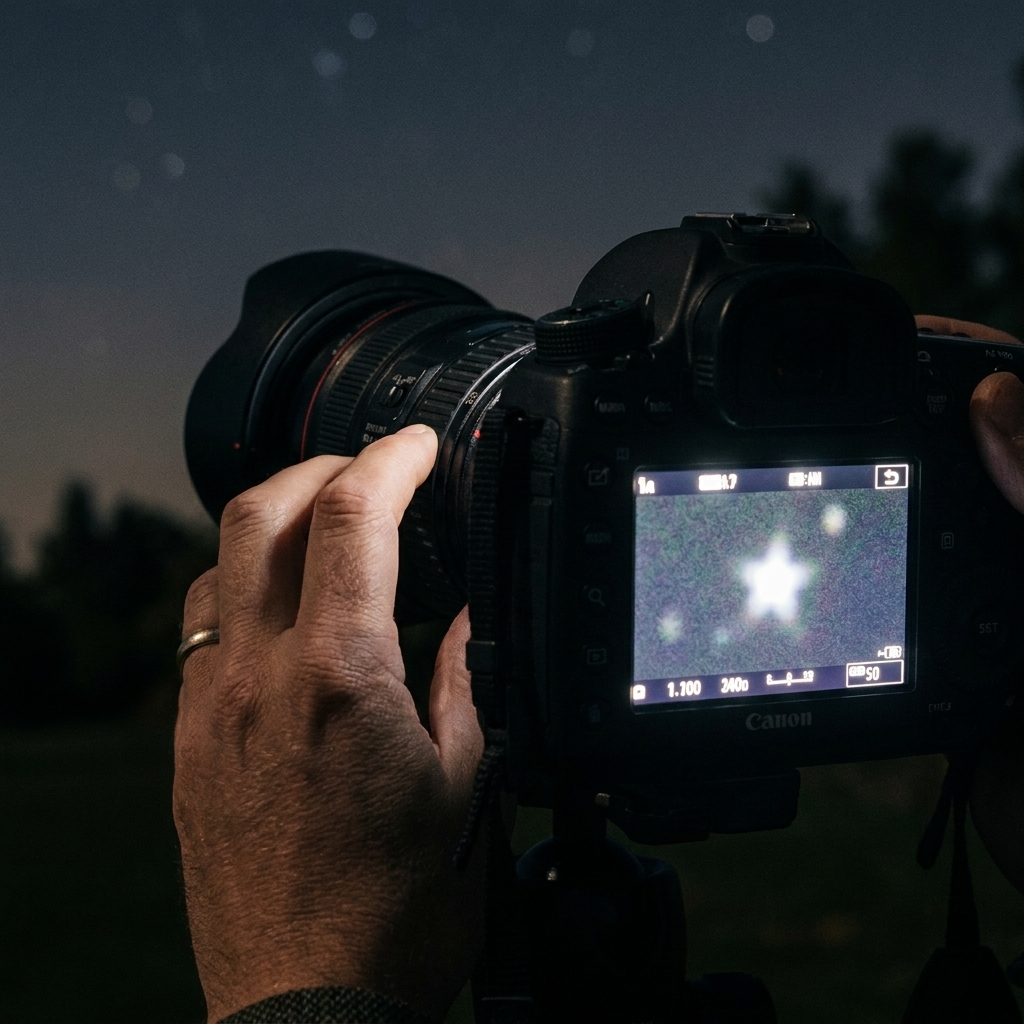
- Zoom the Live View display to 5x or 10x.
- Slowly adjust focus until the star becomes the smallest, crispest point.
- Do not trust the infinity symbol. Many lenses focus past infinity.
Method B: Use a distant light, then reframe
If the sky is dim, focus on a faraway streetlight or radio tower light. Once it is sharp, carefully reframe to your composition without bumping the focus ring.
Lock it in
- Use gaffer tape to lightly secure the focus ring if your lens is loose.
- Re-check focus every so often, especially if temperature is dropping. Lenses can shift slightly as they cool.
Field workflow
- Arrive before dark if possible. Set up safely and scout your foreground.
- Mount the camera on the tripod, level it, and compose a rough frame.
- Dial in baseline settings: f/2.8 (or wider), 15 to 20 seconds, ISO 3200, RAW, manual focus.
- Focus using Live View, then recompose your shot.
- Take a test exposure. Check three things on playback: star sharpness, overall brightness, and composition.
- Adjust exposure (see the next section) and shoot 5 to 20 frames once it looks good.
- Optional: shoot a few dark frames at the end (same settings, lens cap on). These can help with noise reduction if you plan to stack images.
My teacher-brain loves this part because it is basically a controlled experiment: change one variable at a time, observe, repeat.
Adjust exposure
Your goal is a sky that is bright enough to reveal dust lanes and star clouds, without blowing out highlights or turning everything into a noisy gray soup.
If the image is too dark
- Open aperture (for example, from f/2.8 to f/2).
- Increase ISO (3200 → 6400).
- Lengthen shutter (15s → 20s), but watch for star trails.
If the image is too bright or washed out
- Lower ISO first (6400 → 3200 → 1600).
- Shorten shutter (20s → 13s).
- Stop down slightly (f/1.8 → f/2.2 or f/2.8) if your lens is very soft wide open.
Use your histogram
The histogram is your sanity check. For Milky Way shots, you often want the peak of the histogram lifted off the left edge, but not slammed against the right. If the peak is stuck to the far left, the image is underexposed and you will pull up a lot of noise in editing.
Lenses
For Milky Way photography, lenses matter even more than camera bodies. You want a wide view (to include the galactic band) and a bright aperture (to collect starlight).
Great focal lengths
- Full-frame: 14 to 24 mm is the sweet spot. 20 mm is a classic.
- APS-C: 10 to 18 mm (roughly equivalent field of view).
- Micro Four Thirds: 7 to 12 mm is a great range for wide Milky Way shots.
Fast apertures
- f/2.8 is the practical standard.
- f/1.8 to f/1.4 can be magical in darker conditions, but make sure the lens is sharp enough wide open.
Watch for coma and corner softness
Some lenses turn stars near the edges into little bird shapes. That is called coma. Stopping down a third to a full stop can help, at the cost of needing a slightly higher ISO or longer shutter.
Composition
The Milky Way is gorgeous, but your photo becomes memorable when the viewer feels placed inside a landscape.
- Include a foreground anchor: a lone tree, rock formations, a lake reflection, a cabin silhouette.
- Use leading lines: a road, a shoreline, a ridgeline pointing toward the galaxy.
- Try vertical frames: If the Milky Way core is rising, portrait orientation can capture foreground and sky in one sweeping gesture.
- Mind the horizon: Level it, unless you are intentionally tilting for a creative effect.
And if you have a friend along, have them stand still for a few seconds with a dim light. A tiny human silhouette can give the whole galaxy a sense of scale that hits like a physics lesson in your chest.
Foreground lighting options
If your foreground is a black void, you have a few clean options:
- Low-level light painting: Use a dim, warm light and feather it lightly across nearby rocks or trees. The goal is a whisper, not a spotlight.
- Separate foreground exposure: Take one frame for the sky, then a second longer (or lower ISO) frame for the landscape, and blend them in editing. This is often the most natural-looking route.
- Moonlight as your fill: A thin crescent or the Moon just below the horizon can give you gentle, believable foreground detail.
Whatever you choose, avoid nuking the scene with a flashlight. If the foreground looks brighter than the galaxy, your viewer’s brain will call it out immediately.
Troubleshooting
My stars are blurry
- Re-focus using Live View at 10x on a bright star.
- Turn off image stabilization on the tripod.
- Use a timer or remote to avoid shake.
- Check for lens fog or dew. Warm the lens gently if needed.
My stars are streaking
- Shorten shutter speed.
- Use a wider focal length.
- If you want longer exposures, consider a star tracker.
The Milky Way is barely visible
- Get away from light pollution if possible.
- Shoot when the Moon is down.
- Increase exposure slightly (higher ISO or longer shutter within trailing limits).
- Make sure you are shooting RAW, so you can boost contrast and clarity in editing.
My photo is super noisy
- Try a slightly brighter exposure in-camera (counterintuitive, but underexposure can look noisier when lifted later).
- Lower ISO if your sky is already bright from light pollution.
- Consider stacking: taking many exposures and combining them to reduce noise.
Editing roadmap
The Milky Way look is mostly contrast management. You are revealing faint structure without making the sky look crunchy.
- Set white balance (often 3800 to 4200K is a good starting point).
- Raise exposure modestly if needed, then pull back highlights.
- Add contrast and blacks gently to deepen the sky.
- Use clarity or texture lightly to bring out dust lanes.
- Reduce noise (luminance and color noise).
- Sharpen carefully, ideally with masking so you sharpen stars more than the noise.
If you want the cleanest possible result, the big leap is stacking multiple frames. The physics is friendly: random noise averages out, real signal adds up. Your galaxy gets louder, the static gets quieter.
Quick-start settings
If you are heading out and want a just-tell-me-what-to-do recipe, start here:
- Full-frame + 14 to 24 mm lens: f/2.8, 15 to 20s, ISO 3200, WB 4000K
- APS-C + 10 to 18 mm lens: f/2.8, 10 to 15s, ISO 3200 to 6400, WB 4000K
- Micro Four Thirds + 7 to 12 mm lens: f/2 (or f/2.8), 8 to 12s, ISO 3200 to 6400, WB 4000K
Take one test shot, zoom in for focus, then adjust exposure one step at a time. Your first good Milky Way photo often happens right after you stop trying to wing it and start treating the night like a set of controllable variables.
FAQ
Can I photograph the Milky Way without a tripod?
It is technically possible with very high ISO and a very fast lens, but results are usually disappointing. A tripod is the single best upgrade for astrophotography because it lets you gather light over seconds instead of fractions of a second.
Do I need a full-frame camera?
No. Full-frame sensors generally handle high ISO a bit better and give you more wide-angle options, but APS-C and Micro Four Thirds can capture excellent Milky Way images with a wide, bright lens and good technique.
Should I use autofocus?
For most night skies, autofocus will hunt and miss. Manual focus with Live View zoom is the most dependable method.
Why does my lens not focus at the infinity mark?
Many lenses allow focus past infinity to accommodate temperature changes and manufacturing tolerances. Always confirm focus on a star rather than trusting the printed symbol.