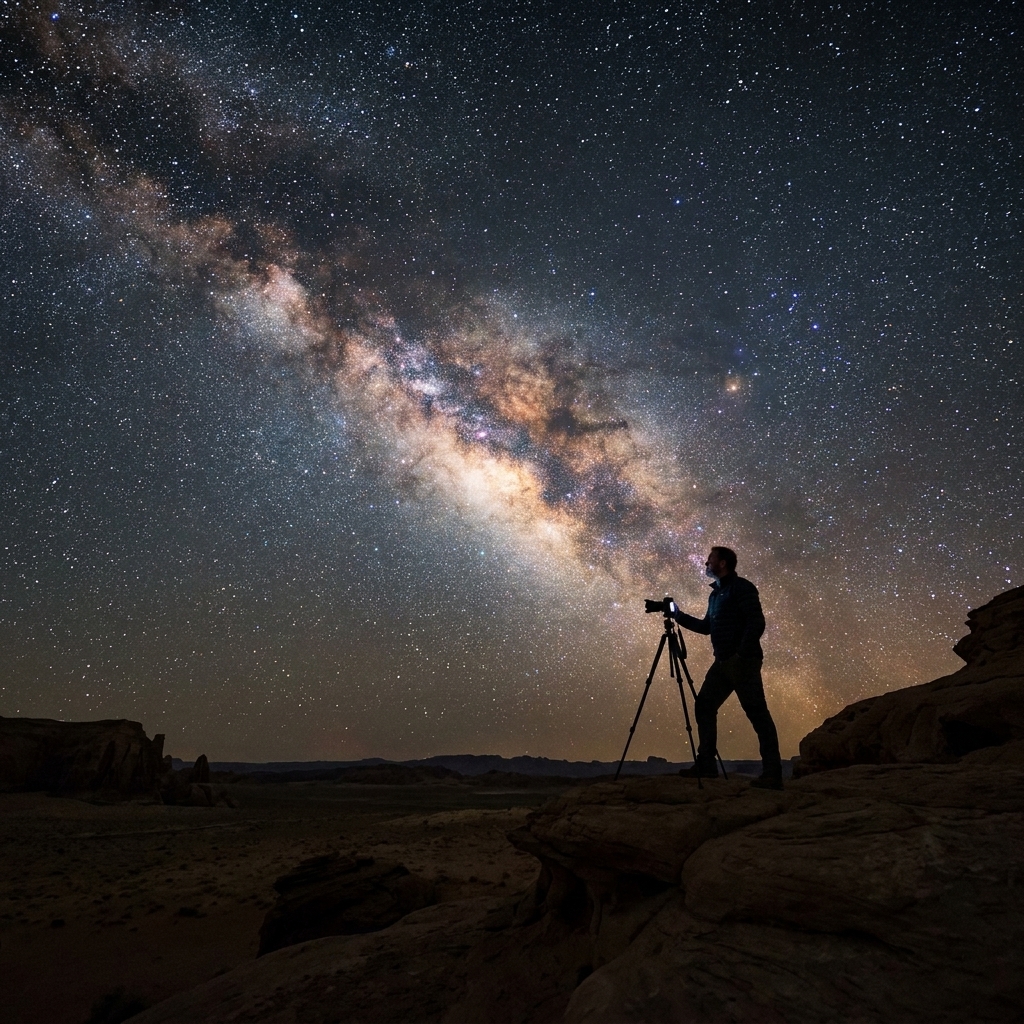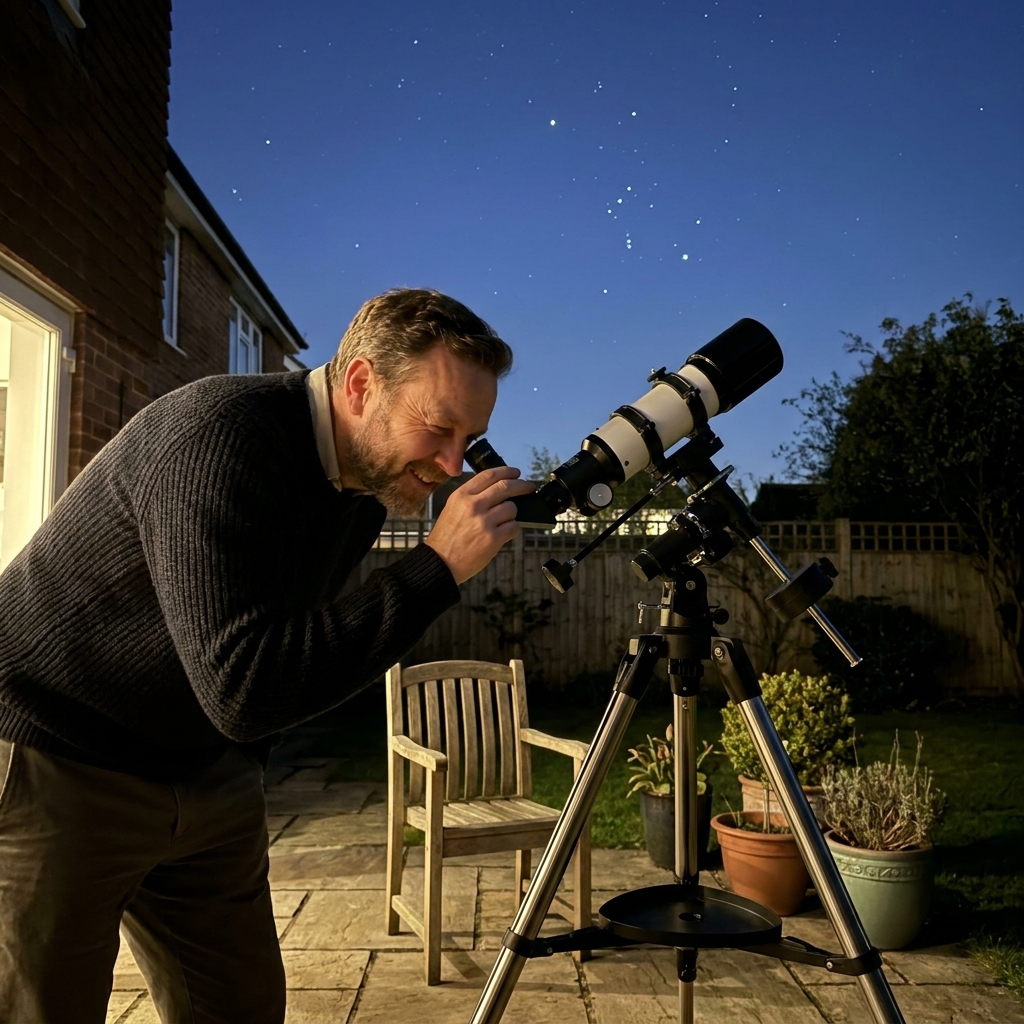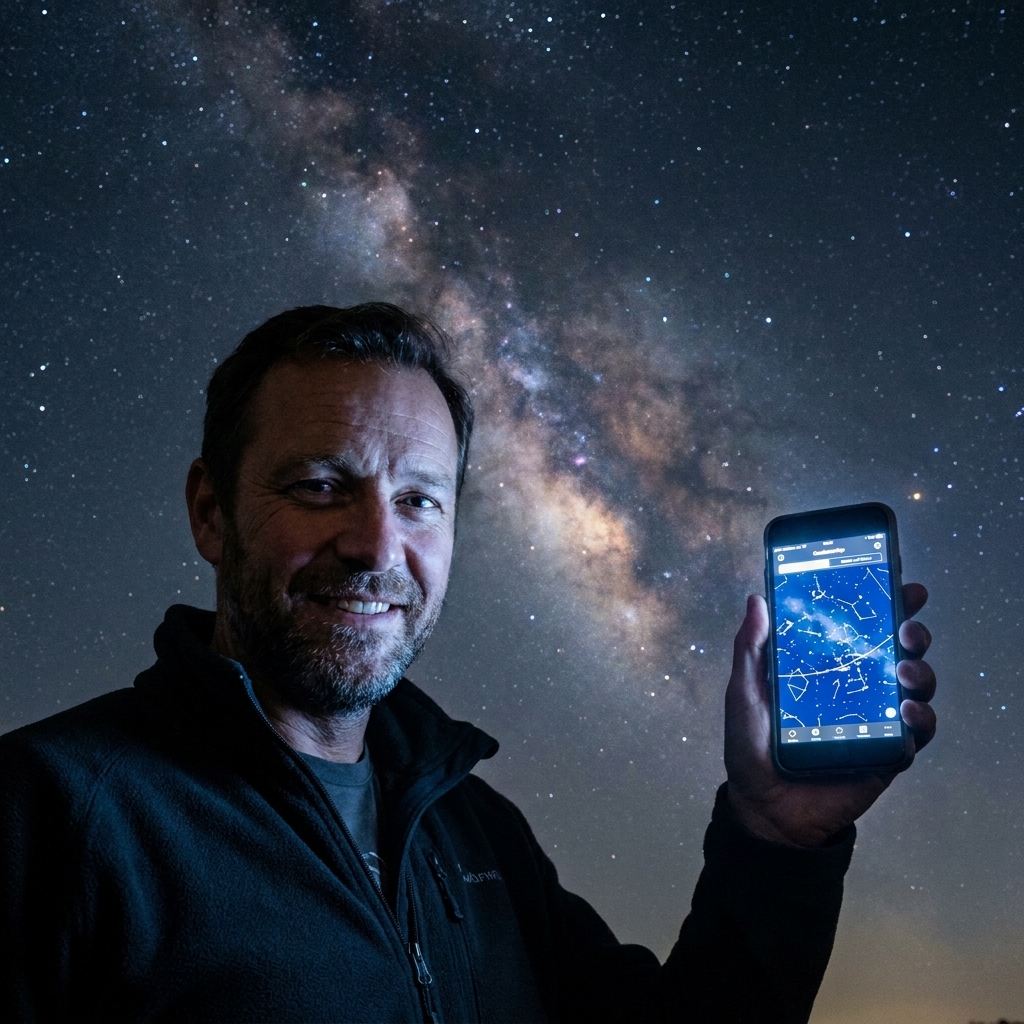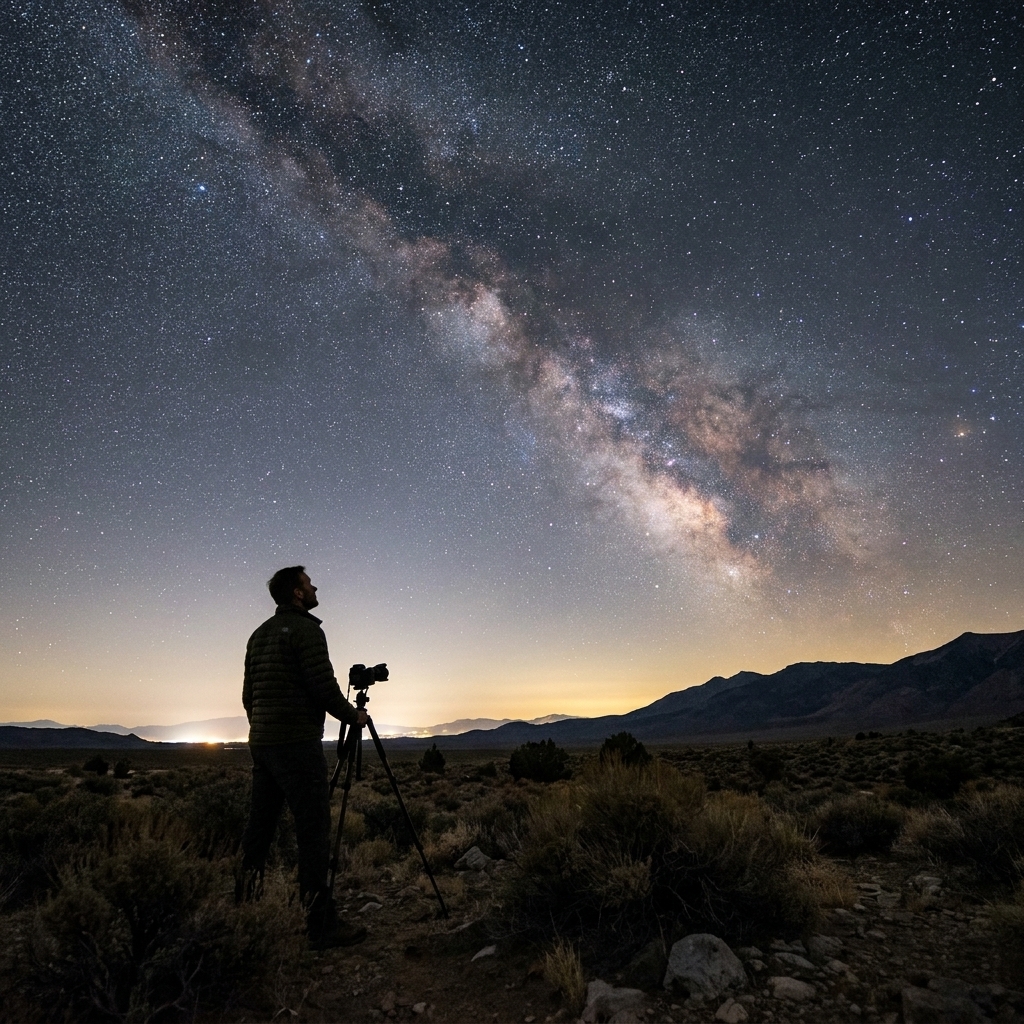
Astrophotography is the rare hobby where your first big upgrade is not the telescope. It is the mount. A telescope is like a camera lens. The mount is the tripod, the gimbal, and the steady hands all rolled into one, except it has to track smoothly while Earth rotates about 15° per hour (roughly 1,000 mph at the equator).
Below is a practical buying guide to home telescopes and mounts that are genuinely optimized for capturing deep-space images. I will translate the jargon into plain language, compare standout consumer setups, and help you pick a rig that fits your sky, your patience level, and your future ambitions.
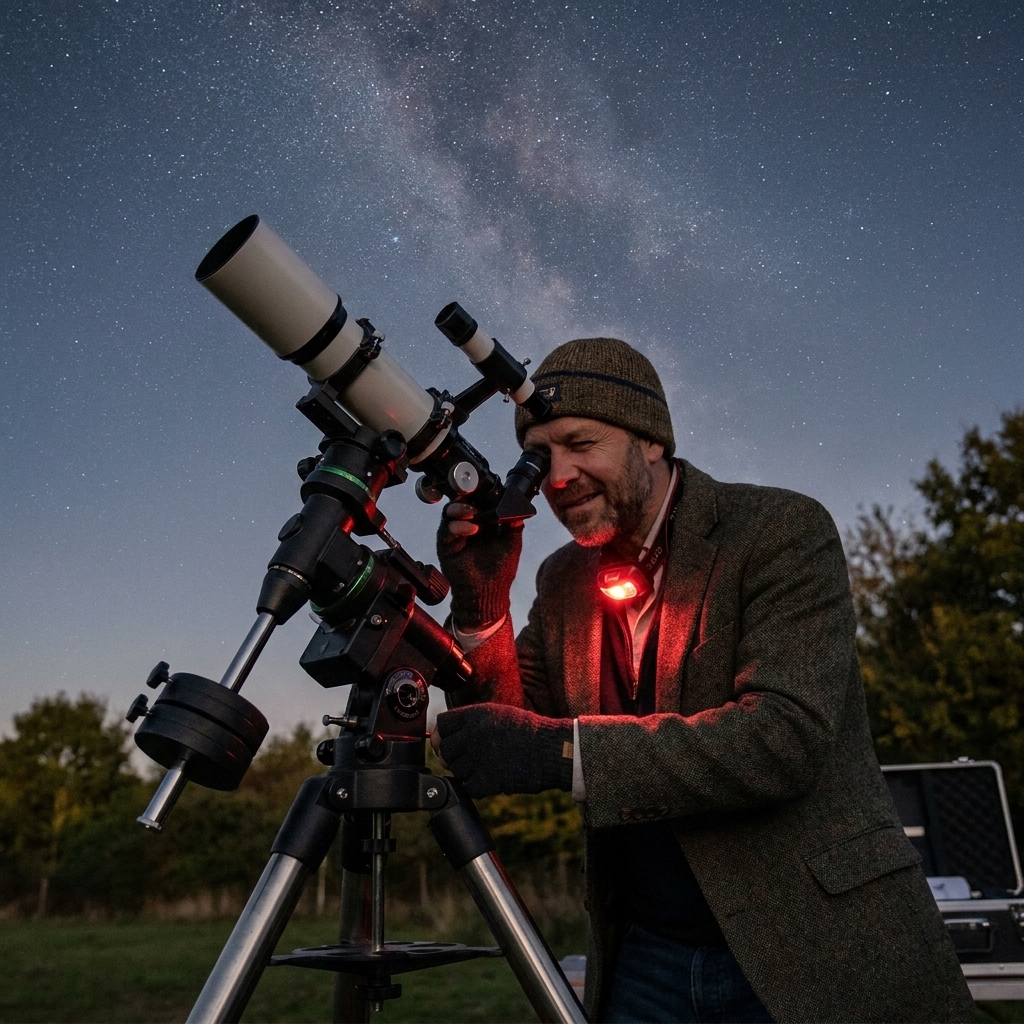
Start here: what matters most
1) The mount: your long exposure engine
For deep-sky images, you will take exposures that last from a few seconds to several minutes. During that time, the mount must track the stars smoothly by counter-rotating with the sky. If the mount jitters, stutters, or sags, your stars turn into tiny commas, and no amount of processing can fully rescue them.
- Alt-az mounts (up-down, left-right) are excellent for visual observing and quick lunar snapshots, but they struggle with long exposures because of field rotation. The sky appears to rotate in the frame as you track.
- Equatorial (EQ) mounts are the standard choice for long-exposure deep-sky imaging. They align with Earth’s rotation axis, so they can follow the sky with one smooth motion.
- GoTo means the mount can automatically find targets. Nice for beginners because galaxies do not exactly scream, “Here I am!” in a finder scope.
- Guiding is a second, small scope and camera that constantly correct the mount. Think of it like lane assist for star tracking.
2) The telescope: aperture is not king (at first)
In visual astronomy, bigger aperture usually wins. In astrophotography, a huge scope can be like trying to learn photography with a 600 mm telephoto lens. Powerful, but unforgiving.
- Short focal length scopes (around 250 to 600 mm) are easier to track and frame. They make learning feel possible.
- Fast optics (lower f-number like f/4 to f/6) collect light faster, which means shorter exposures for the same brightness on extended targets like nebulae and galaxies.
- Refractors are the “it just works” option for deep-sky beginners: crisp stars, low maintenance.
- Newtonians can be incredible value and very fast, but they demand more collimation and can be picky about coma correction.
- SCTs and Maks shine on planets and small targets, but their long focal lengths make deep-sky tracking more difficult without experience.
3) Your camera: DSLR, mirrorless, or astro camera
Most people start with a DSLR or mirrorless camera. Dedicated astronomy cameras can be a big leap in performance, especially for narrowband imaging, but they add complexity (cooling, filters, computers).
If you already own a camera, build your first rig around it. Put the money into the mount and a friendly telescope first.
Quick picks: match the gear to the goal
Colorful nebulae and galaxies (deep sky)
- Best telescope style: small apochromatic refractor, 60 to 100 mm aperture
- Best mount style: GoTo equatorial mount with guiding capability
- Why: wide field, forgiving tracking, sharp stars, minimal fuss
- Great first targets: Orion Nebula (M42), Andromeda Galaxy (M31), North America Nebula (NGC 7000)
Planets (Jupiter, Saturn, Mars)
- Best telescope style: Schmidt-Cassegrain (SCT) or Maksutov-Cassegrain
- Best mount style: GoTo EQ or sturdy GoTo alt-az (planetary uses short video captures)
- Why: long focal length gives big, detailed planetary disks
Grab-and-go smart setup
- Best telescope style: all-in-one smart telescope
- Best mount style: integrated
- Why: easiest learning curve, great results under light pollution, but less flexible long-term
- Reality check: most are alt-az and rely on short subexposures plus live stacking to work around field rotation, so they are not the same tool as a traditional EQ mount for multi-minute subs
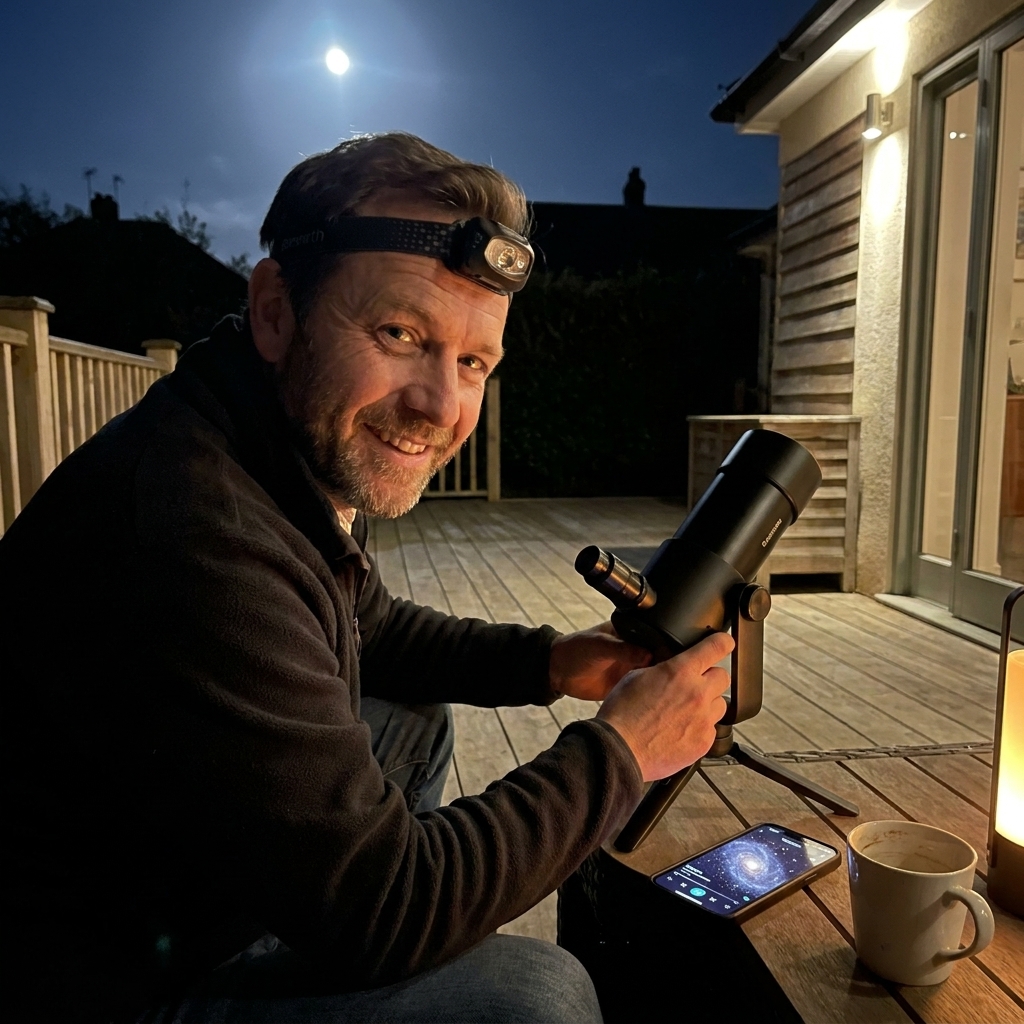
Recommended systems (consumer level)
Instead of pretending there is one “best” telescope, I am going to recommend systems. In astrophotography, the mount, telescope, and camera behave like a three-legged stool. The weakest leg dictates your results, and not in a good way.
One quick note before the shopping list: these setups also come with real-world realities like weight, power, and control devices. I address that after the recommendations so you can budget your money and your back.
1) Beginner deep-sky rig
Telescope: 70 to 80 mm ED or apochromatic refractor (around 350 to 500 mm focal length)
Mount: Sky-Watcher HEQ5 or equivalent class
Who it is for: You want real nebulae and galaxy images without wrestling your gear every night.
Why it works: This is the classic “learn the sky, learn the workflow” combo. The refractor keeps stars tight. The HEQ5-class mount has enough payload and tracking performance to grow with you, especially once you add guiding.
- Pros: Easy to focus, forgiving framing, great upgrade path
- Cons: Not tiny, not ultralight, costs more upfront than entry mounts
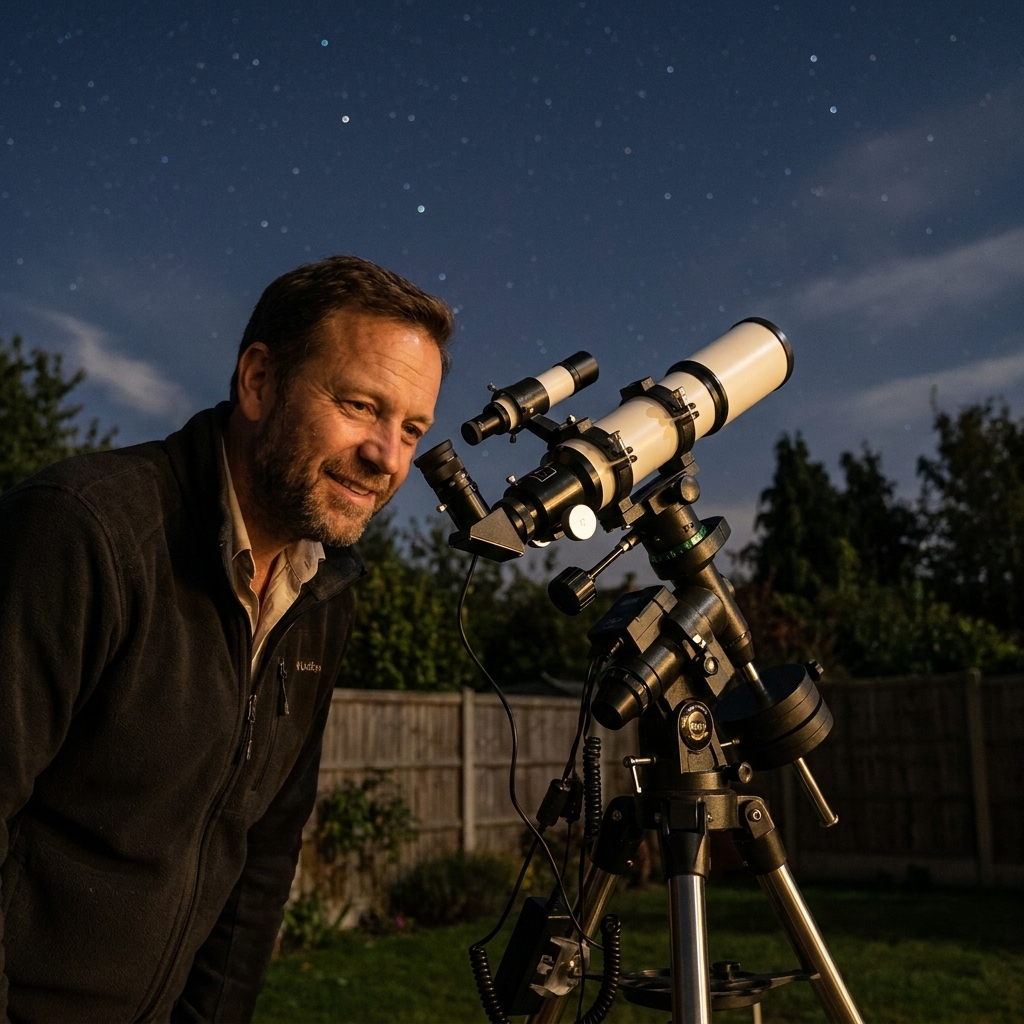
2) Portable travel rig
Telescope: 50 to 72 mm refractor or quality camera lens (200 to 400 mm)
Mount: Sky-Watcher Star Adventurer GTi or iOptron SkyGuider Pro class
Who it is for: You want to hike, drive to darker skies, or store everything in a closet.
Why it works: Portable mounts excel at wide-field deep-sky targets. At shorter focal lengths, even modest tracking looks impressive. This is how many people build their confidence before upgrading to a heavier EQ mount.
- Pros: Lightweight, fast setup, great for wide nebulae and Milky Way targets
- Cons: Limited payload, long focal lengths become frustrating quickly
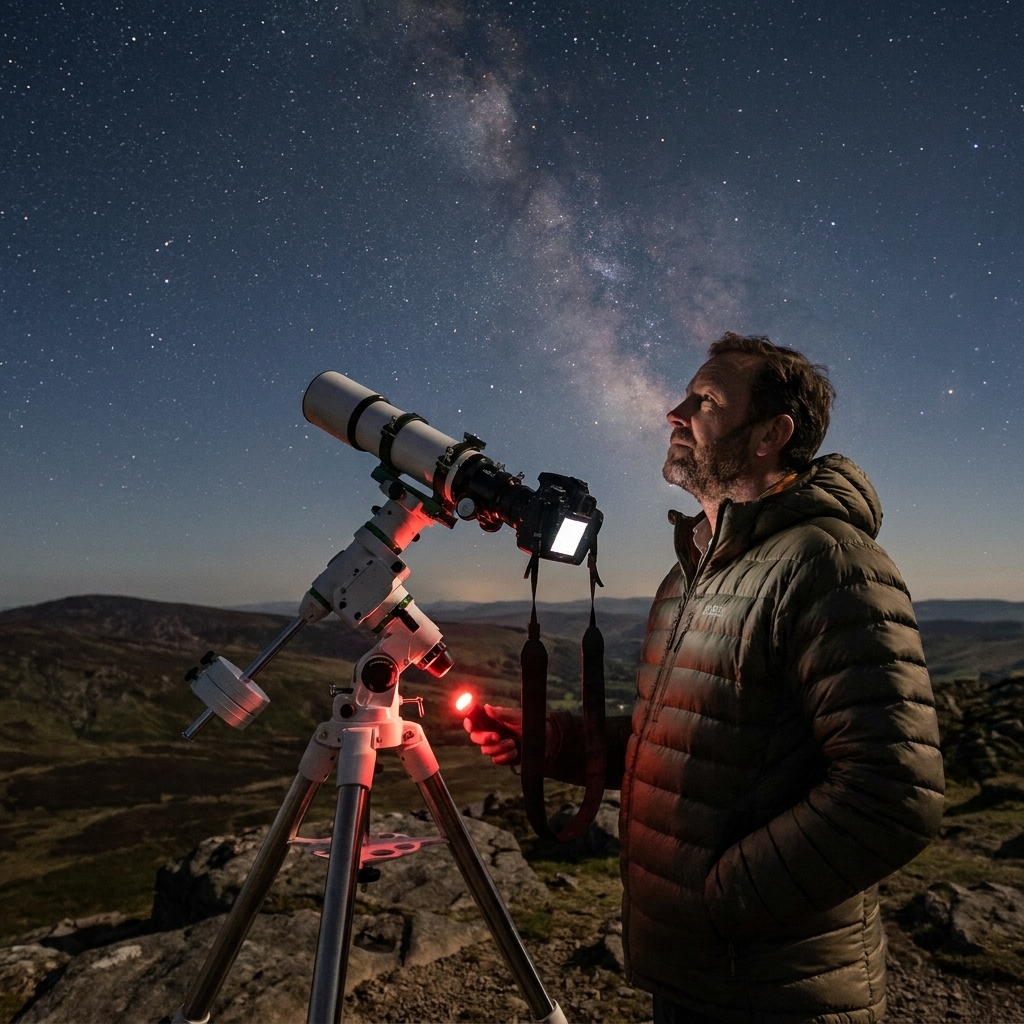
3) Fast value imaging scope
Telescope: 130 mm f/5 Newtonian astrograph or 150 mm f/4 class (with coma corrector)
Mount: HEQ5 class or heavier depending on total payload
Who it is for: You want a lot of light for the money and do not mind learning collimation.
Why it works: Fast Newtonians can deliver stunning results quickly, especially on emission nebulae. But they are less forgiving mechanically, and the coma corrector is not optional if you care about star shapes near the edges.
- Pros: Fast optics, strong performance per dollar, great for narrowband later
- Cons: Collimation learning curve, needs coma corrector, more wind-sensitive
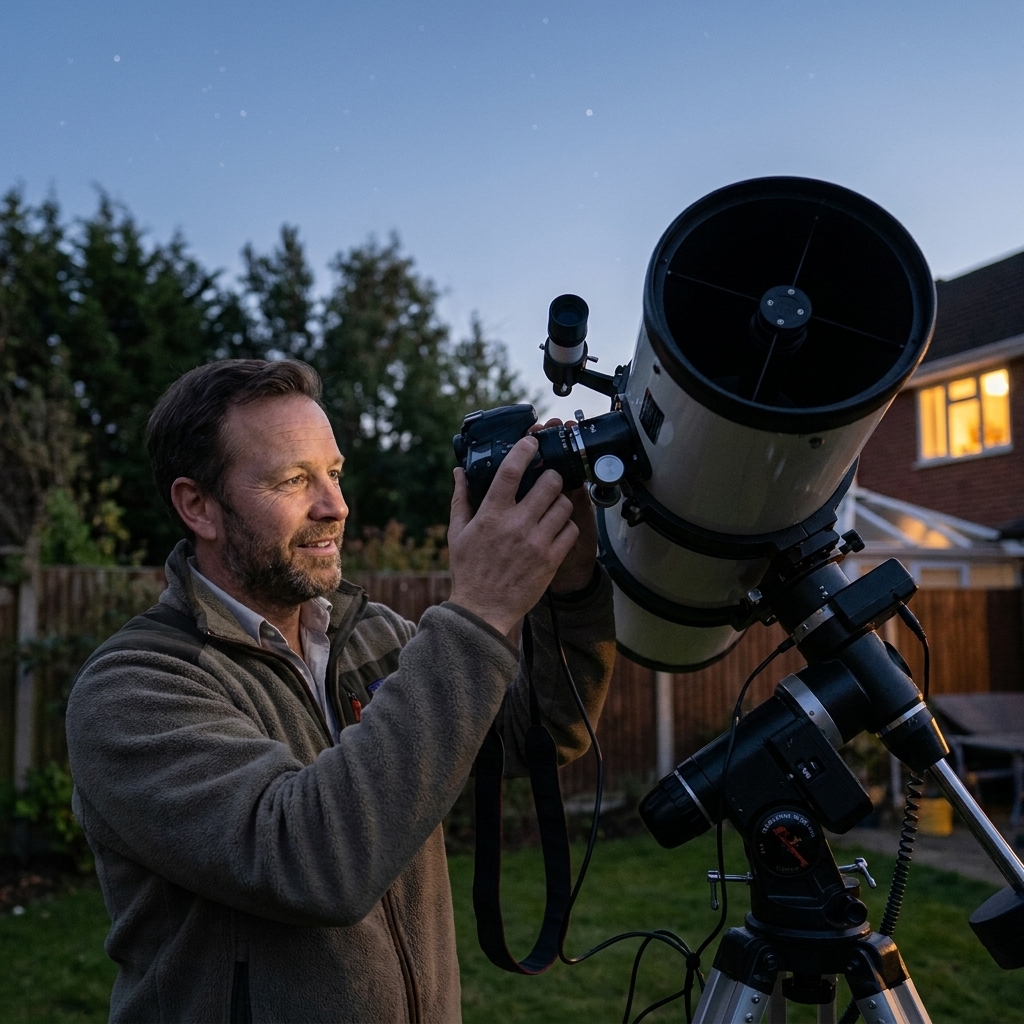
4) Planets and the Moon
Telescope: 8-inch Schmidt-Cassegrain (SCT) or 6-inch Maksutov-Cassegrain
Mount: Sturdy GoTo mount (EQ preferred, but alt-az can work for planetary video)
Who it is for: You want crisp cloud belts on Jupiter and rings on Saturn, and you enjoy tinkering.
Why it works: Planetary imaging is usually done with many short exposures captured as video, then stacked. That means you are not doing multi-minute exposures like deep-sky work, so the mount requirements are different. What you need is stability and accurate GoTo, plus decent seeing.
- Pros: Amazing planetary detail potential, doubles as a strong visual scope
- Cons: Deep-sky imaging is harder due to long focal length and slower optics
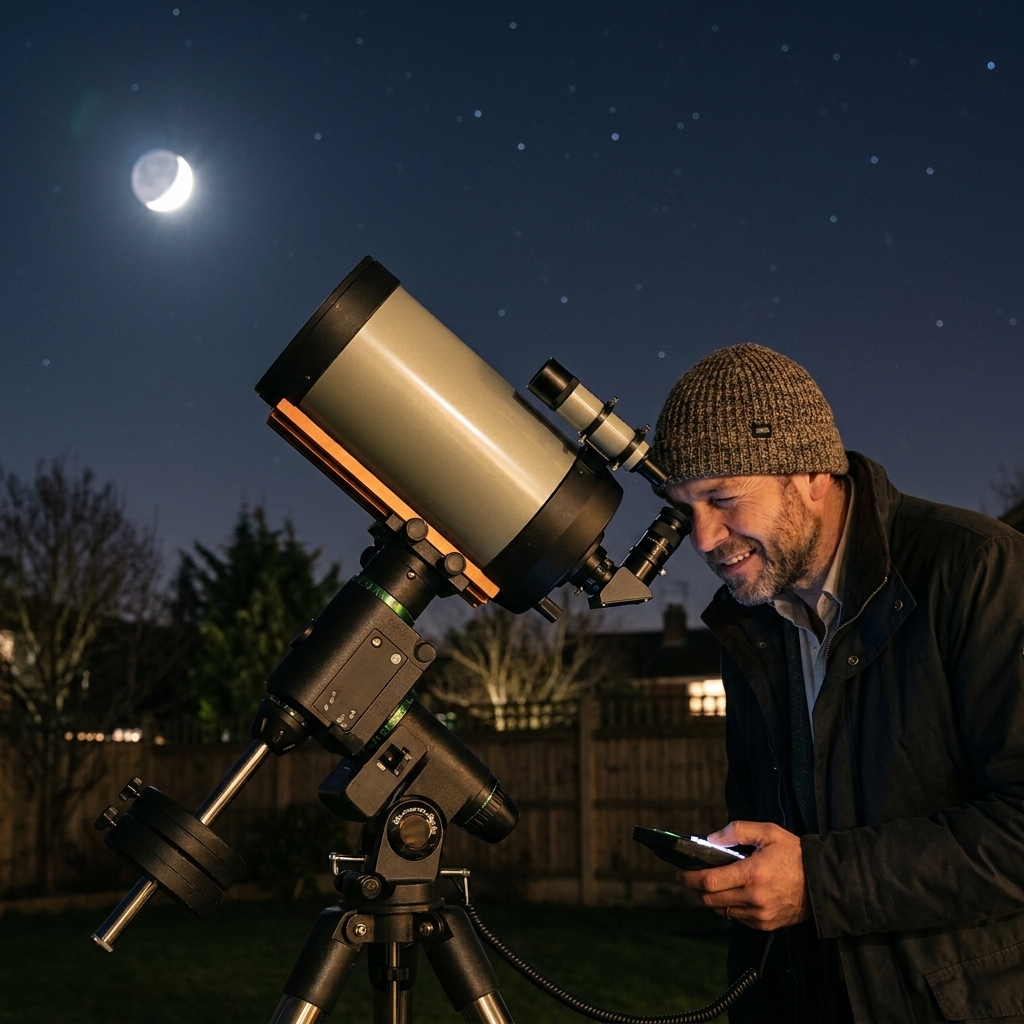
5) Smart telescope
Telescope: Smart telescope with integrated camera and stacking (examples include Unistellar and ZWO Seestar class)
Mount: Integrated
Who it is for: You want to capture deep-sky objects quickly, often from light-polluted areas, with minimal setup.
Why it works: These devices automate target finding (plate solving), track, and stack exposures live. Many do this on an alt-az mount by keeping subexposures short to limit field rotation, then stacking and rotating frames in software. The tradeoff is flexibility. You are buying an ecosystem rather than a modular rig.
- Pros: Easiest learning curve, great for urban skies, very portable
- Cons: Limited upgrade path, less control over optics and sensor choices
How to choose a mount
Payload: treat the rating like a speed limit in a snowstorm
Manufacturers list a maximum payload, but astrophotography is pickier than visual observing. A common rule of thumb is to aim for 50 to 70 percent of the rated payload for imaging. It is a heuristic, not a law of nature. Some mounts can image closer to their rating, others get grumpy sooner. The safe idea is that more weight means more flex and more inertia, which means tracking corrections overshoot and stars bloat.
Polar alignment: your nightly ritual
EQ mounts need polar alignment, meaning you aim the mount’s axis at the north or south celestial pole. It sounds mystical. It is really just geometry. Modern apps, polar scopes, and plate-solving routines make this much less painful than it was a decade ago.
GoTo, encoders, and convenience
If you are imaging faint objects, GoTo is a sanity saver. Some mounts include encoders, which can improve pointing models and help the mount keep its place if you move it manually. In a few designs they can also help tame periodic error, but do not treat “has encoders” as a universal promise of better guiding performance.
Choosing a telescope by feel
Here is the most useful mental model I know. Your telescope’s focal length is like how zoomed-in you are. Your f-ratio is like how “bright” the optical system is for extended objects (nebulae, galaxies). Your camera sensor size sets how big a slice of sky you capture.
Beginner sweet spot
- Focal length: 250 to 600 mm
- f-ratio: f/4 to f/6
- Result: Wide views, easier tracking, forgiving framing
When longer focal length makes sense
Once you can routinely produce round stars and you have guiding working, you can move up to longer focal lengths for smaller galaxies and tighter nebula regions. Expect a learning curve, because the sky’s tiny tracking errors become big at high magnification.
The supporting cast
- Field flattener or reducer: Many refractors need a flattener for crisp corner stars. A reducer can widen the field and speed up the system.
- Coma corrector: Essential for Newtonians if you care about edge performance.
- Dew control: A dew heater strap can be the difference between a magical night and a fogged corrector plate.
- Power: Stable 12V power is non-negotiable for many mounts. Batteries that sag under load cause weird failures.
- Guiding: A small guide scope and guide camera unlock longer exposures and better star shapes.
- Control device and cables: Guiding and astro cameras often mean a laptop, mini PC, or an ASIAIR-style controller, plus cable management. This is boring until it is 2 a.m. and you are chasing a snag.
- Filters (not magic): In light pollution, a dual-band filter can be a lifesaver for emission nebulae. Broadband filters are more subtle, and narrowband is powerful but typically pairs best with a cooled astro camera and a more involved workflow.
- Camera basics that matter: Sensor size affects field of view. Pixel size and focal length set your image scale, which affects how demanding tracking feels. Your camera’s ISO or gain behavior matters, but it matters less than good tracking, good focus, and enough total integration time.
- Processing software: Stacking and post-processing is half the craft. Your first “wow” image usually happens when you learn to stretch data gently.
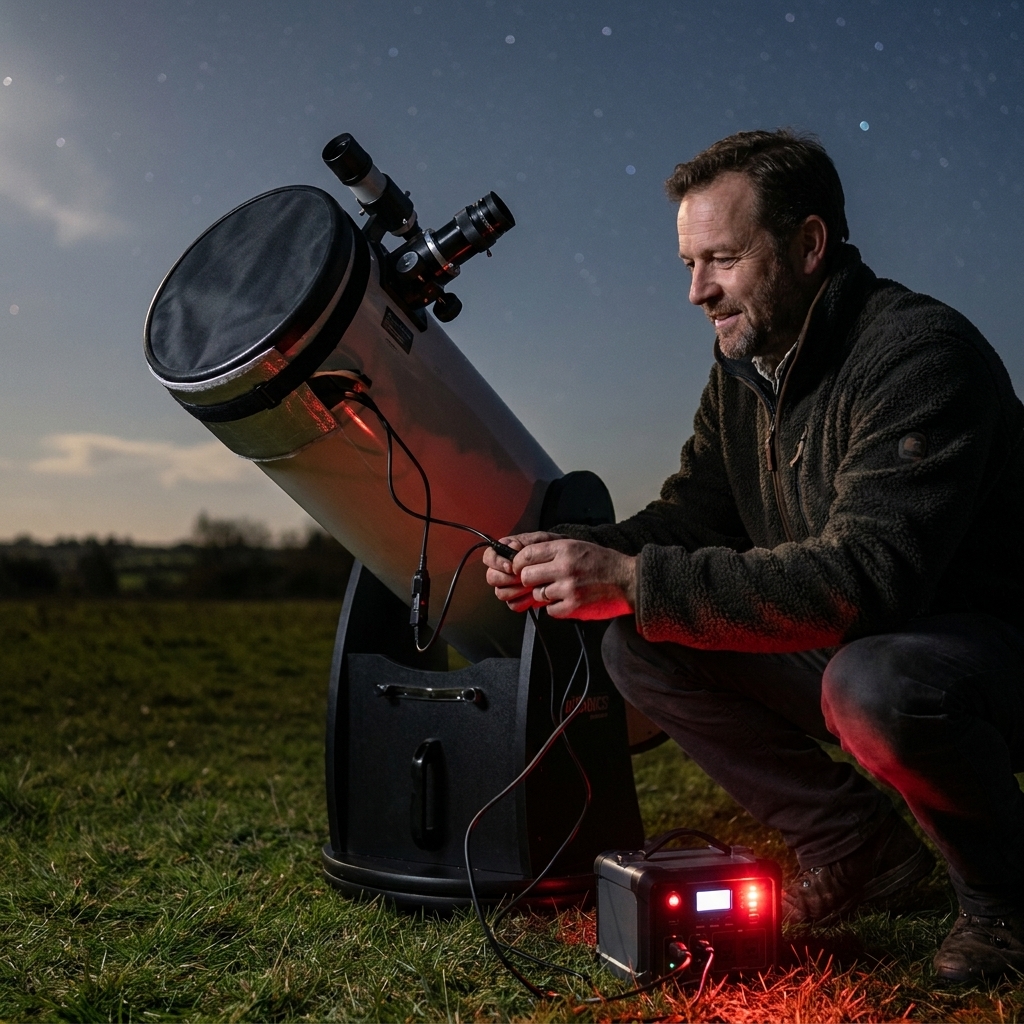
Sample shopping lists
Path A: Budget entry
- Star tracker mount
- DSLR or mirrorless camera you already own
- 200 to 300 mm camera lens (or small refractor)
- Sturdy tripod, intervalometer, basic stacking software
- Ballpark budget: about $400 to $1,200 depending on what you already own
Path B: Deep-sky rig
- HEQ5-class GoTo EQ mount
- 70 to 80 mm ED/APO refractor
- Field flattener
- Guide scope and guide camera
- DSLR or cooled astro camera
- Dew heater and reliable 12V power
- Mini PC, laptop, or ASIAIR-style controller (if guiding or running an astro camera)
- Ballpark budget: about $2,000 to $5,000+
- Weight reality: an HEQ5-class head and tripod are not “one-hand portable” for most people. Plan on multiple trips or a rolling case.
Path C: Planetary specialist
- 8-inch SCT or 6-inch Mak
- Sturdy GoTo mount
- Planetary camera (high frame rate)
- Barlow lens (often 2x to 3x)
- Stacking software for planetary video
- Ballpark budget: about $1,500 to $4,000 depending on mount and camera
Common mistakes
Buying too much telescope too soon
A big, long focal length scope can be amazing. It can also turn your first month into troubleshooting instead of learning. Start wider, get consistent results, then zoom in later.
Skipping guiding when you are ready
Guiding is not mandatory on night one. But if you want longer exposures and tighter stars, it is one of the most cost-effective upgrades.
Underestimating light pollution
You can do astrophotography from a city, but you will lean more on filters, careful target selection, and processing. If you can occasionally travel to darker skies, your learning accelerates.
FAQ
Is an 8-inch Dobsonian good for astrophotography?
For deep-sky long exposure astrophotography, not really. Dobs are fantastic visual instruments, but most are alt-az and not designed to track precisely. For planetary and lunar imaging, you can still get great results with video stacking if you are willing to work within limits.
Do I need an apochromatic refractor?
It helps. ED doublets can be excellent, especially with a good flattener. A true triplet APO typically offers better color correction and star shapes, but it is not a prerequisite for learning or for making images you will be proud of.
What is the single best upgrade for sharper stars?
Assuming focus is good, the biggest upgrade is usually better tracking, either a higher-quality mount or adding guiding. Star quality is a mount story more often than it is a telescope story.
Can I start with my phone?
For the Moon, yes, especially using a simple phone-to-eyepiece adapter. For deep-sky, phones struggle because their tiny sensors and built-in processing are not designed for long-exposure, low-light stacking in the same way a dedicated setup is.
My parting advice
Choose a setup that makes you want to go outside on a Tuesday night. The “best” gear is the gear you will actually use. If you nail the basics, solid polar alignment, good focus, stable tracking, the universe will do the rest. It has been practicing for 13.8 billion years.
And if you ever find yourself debating 10 mm of aperture at 1 a.m., remember: the mount is the grown-up in the room.