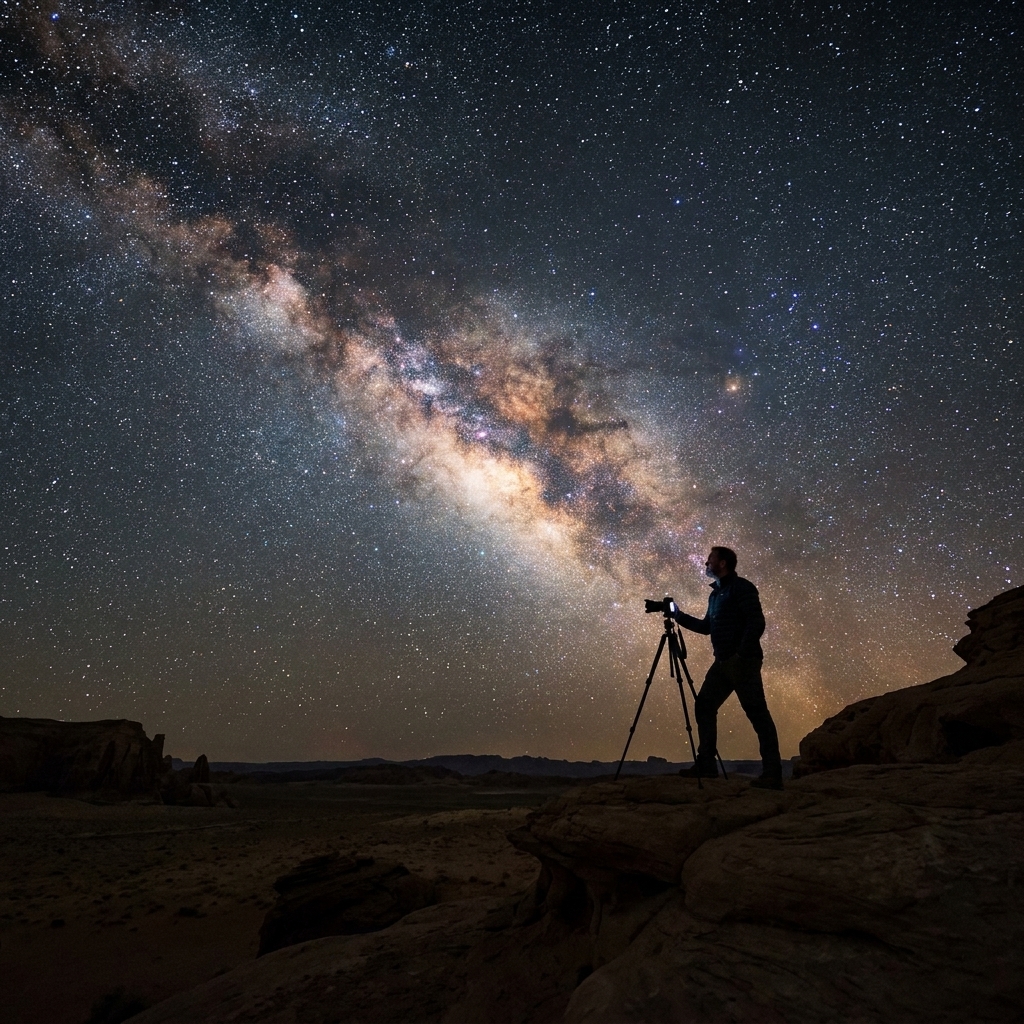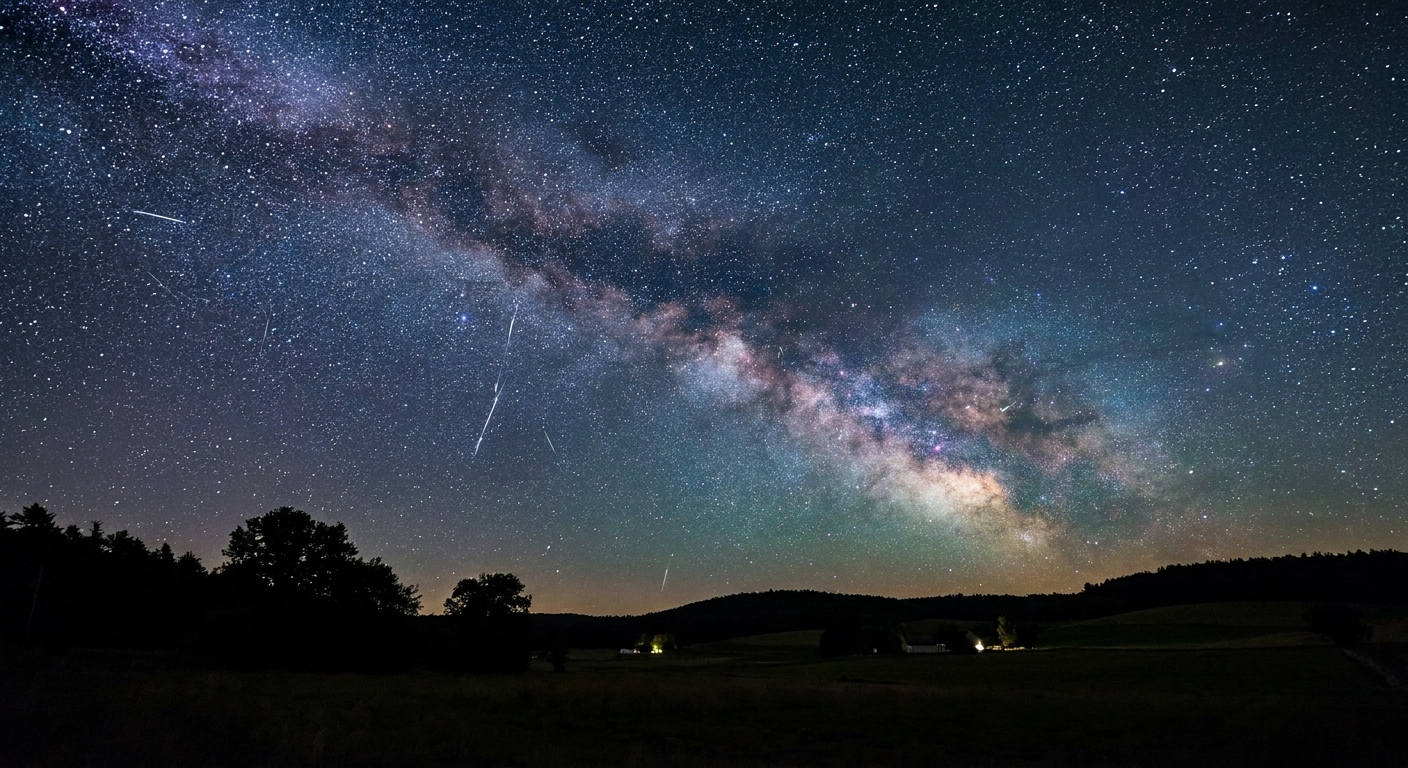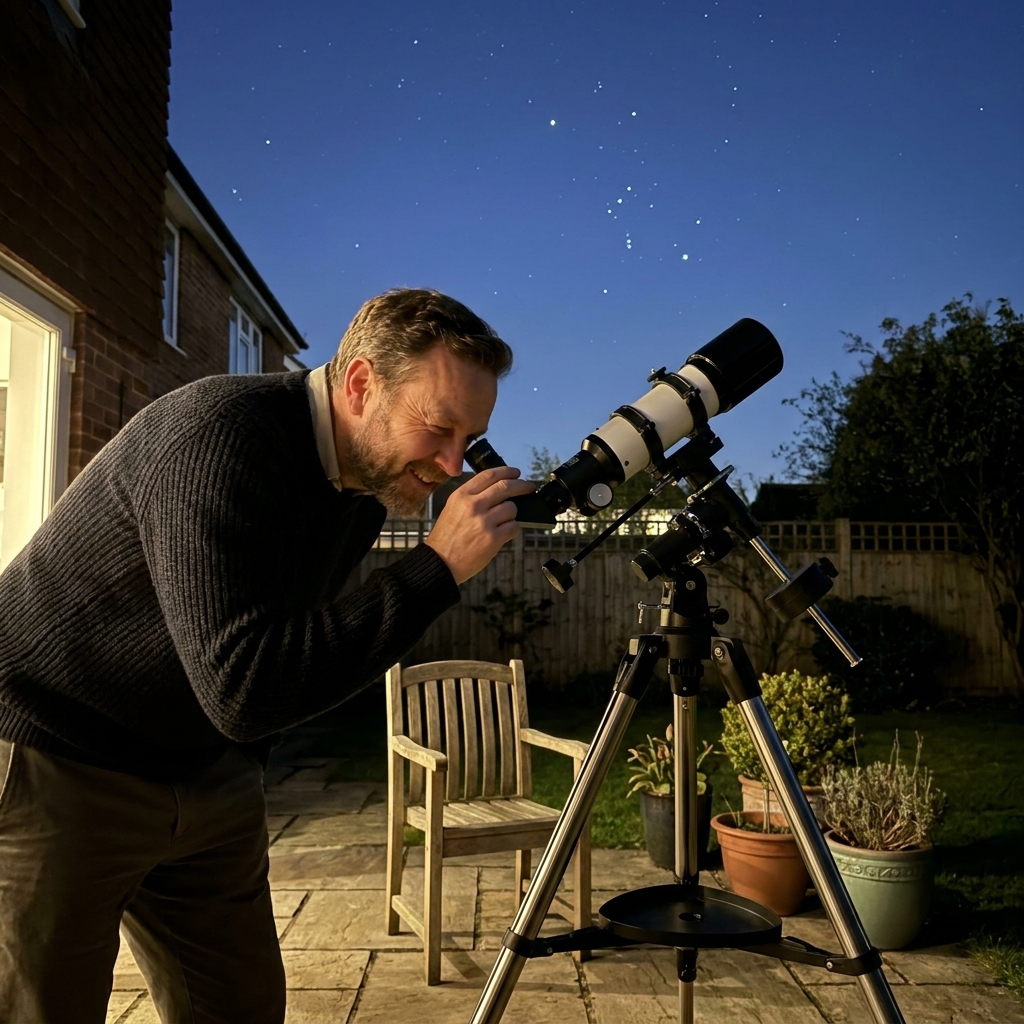
If you have ever driven 30 minutes out of town, looked up, and thought, Wait… that’s it? you have met the invisible villain of modern stargazing: light pollution. The good news is that finding a truly dark sky location is no longer guesswork. With a couple of maps, one oddly charming rating system called the Bortle scale, and a few park resources, you can plan a night where the Milky Way is not a rumor, it is a headline.
Below is the exact approach I use when I am scouting spots for a telescope session with my golden retriever, Quark, supervising from the passenger seat.
Start with the Bortle scale
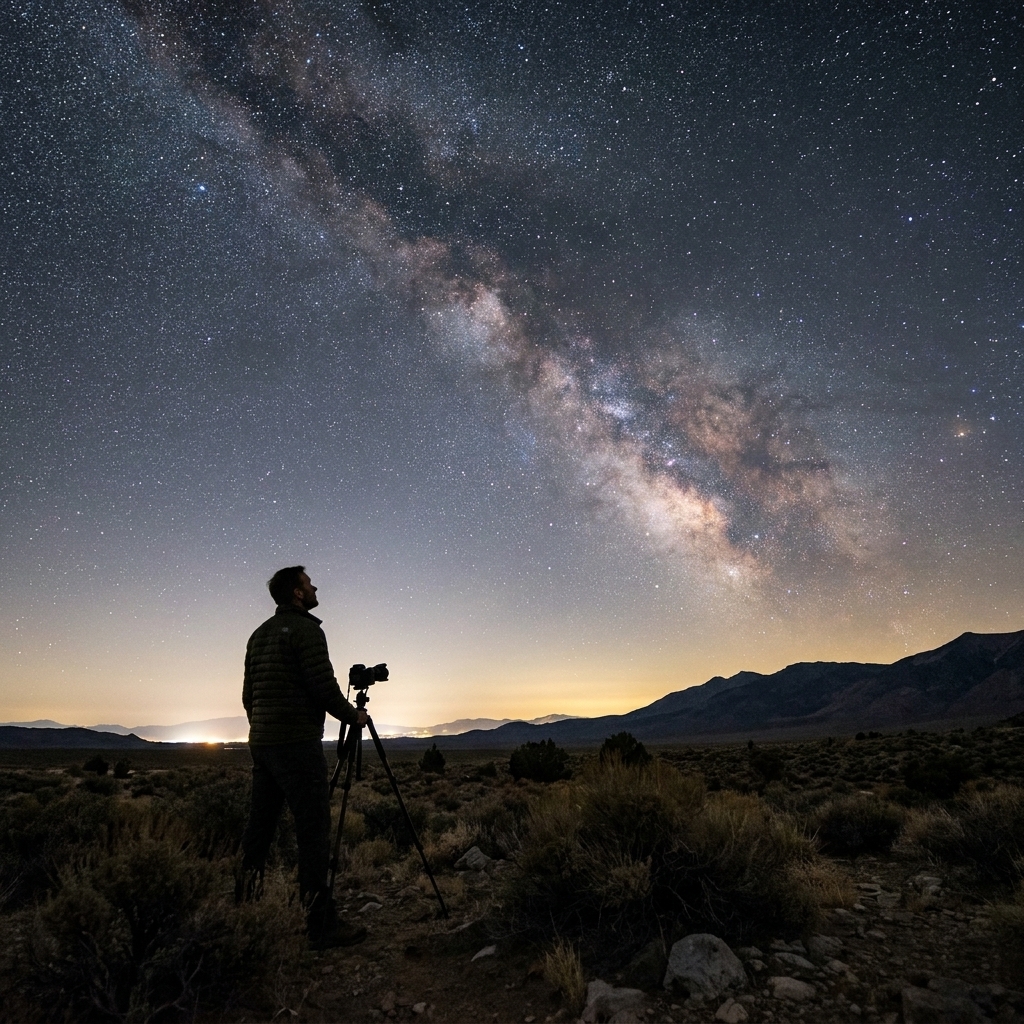
The Bortle scale is a 1 to 9 classification of night sky darkness based on what you can actually see. Think of it like a field guide for your eyes.
One important nuance: when a map labels an area “Bortle 3” (or similar), that is an estimate based on models and satellite data. Real conditions can be better or worse depending on humidity, haze, snow cover, nearby lights, and even whether you are standing in a valley or on an open ridge.
- Bortle 1 to 2: pristine dark sky. The Milky Way looks textured and three-dimensional. Zodiacal light can be visible when the timing is right, and faint nebulae become realistic targets.
- Bortle 3 to 4: excellent for most stargazing and astrophotography. The Milky Way is obvious, especially in summer.
- Bortle 5 to 6: typical suburbs. You can still do a lot, but faint deep-sky objects get washed out.
- Bortle 7 to 9: city sky. Bright planets, the Moon, and a handful of stars rule the night.
My practical rule: If you want “uninterrupted” stargazing, aim for Bortle 4 or darker whenever possible. For a jaw-dropping Milky Way night, chase Bortle 2 to 3.
Use light pollution maps
Light pollution maps are your scouting report. They show how bright the night sky is due to artificial lighting, usually using satellite data and models of skyglow.
Two map tools worth knowing
- Light Pollution Map (World Atlas overlay): Great for fast scanning and toggling different layers.
- Dark Site Finder: Simple and beginner-friendly for narrowing down regions quickly.
When you open a map, do not just click the darkest patch and call it done. Use a three-step scan:
Step 1: Find the dark blob
Dark zones often look huge on a national view, then shrink once you zoom to local roads and towns. Zoom until you can see access routes and nearby light sources.
Step 2: Watch for light domes
Even in a dark area, a city tens of miles away (sometimes 50+ miles, depending on conditions) can create a glow near the horizon, especially if the air is hazy. On maps, this shows up as lighter regions bleeding outward. In real life it is a pale orange or white dome that can erase low-lying constellations.
Step 3: Think elevation, horizons, and corridors
Higher ground can sometimes put you above low haze or inversion layers, and it often gives you cleaner horizons. It can also mean more wind and exposure, so treat elevation as a helpful tool, not a guarantee. In general, darkness improves quickly once you are away from highways and dense development.
Cross-check parks and DarkSky
Maps tell you where it is dark. Park resources tell you where it is dark and usable, meaning legal access, safe parking, open horizons, and sometimes even restrooms. That matters at 1:00 a.m.
International Dark Sky Places
DarkSky International (formerly the International Dark-Sky Association) designates International Dark Sky Places such as Parks, Reserves, and Communities. These areas typically have:
- Documented dark conditions
- Lighting policies that protect the night
- Public viewing areas and astronomy programming
If you live near a Dark Sky site, it is often the most reliable “go here first” option.
National Park Service night sky resources
Many U.S. national parks are naturally dark and actively protect night skies. Park websites often include:
- Recommended stargazing pullouts or amphitheaters
- Ranger-led astronomy nights
- Seasonal road closures and night access rules
Tip: Search a park’s site for “night sky,” “astronomy,” and “stargazing.” The best spots are frequently curated for wide horizons and minimal headlights.
What makes a site feel uninterrupted
Darkness is necessary, but uninterrupted stargazing is also about the small annoyances that break night vision or block your view.
Checklist for a great observing spot
- Wide sky view: A big open field, ridge, desert flat, or shoreline beats a forest clearing with tall trees.
- Low local lighting: Avoid nearby farm lights, sports fields, parking lot lamps, and motion lights.
- Minimal traffic: Headlights are night-vision kryptonite. Quiet roads matter.
- Stable ground: Your tripod and your ankles will thank you.
- Legal access at night: Some parks close gates at dusk. Confirm hours.
- Wind shelter: Wind ruins telescope views fast. A small rise or vehicle windbreak helps.
If you are choosing between two equally dark spots, pick the one with the cleaner horizons and less traffic. That is where the “uninterrupted” feeling comes from.
Timing: Moon, weather, season
Even the darkest place on the map can disappoint if you show up on the wrong night.
The Moon changes everything
Moonlight is natural light pollution. For Milky Way and faint objects, aim for:
- New Moon, or
- Moon below the horizon during your observing window
A bright Moon is not “bad,” by the way. It is fantastic for craters, mountains, and high-contrast lunar views. Just do not expect a rich deep-sky night at the same time.
Clouds are not the whole story
Two terms help you plan like an astronomer:
- Seeing: How steady the atmosphere is. Important for planets and high magnification.
- Transparency: How clear the air is. Important for faint stars, nebulae, and the Milky Way.
You can have “clear” skies with poor transparency if smoke, dust, humidity, or thin haze is present. If wildfire smoke is in the region, it can dim stars dramatically, even when clouds are absent.
Milky Way seasonality
If your main goal is the bright, thick Milky Way, timing matters. In the Northern Hemisphere, the galactic core is most dramatic from late spring through early fall (often best in summer). Winter skies can be gorgeous too, just with different highlights: Orion, bright star fields, and crisp constellations.
Helpful forecast tools
In addition to a standard weather forecast, astronomy-focused tools can save a drive. Clear Outside, Astrospheric, and Meteoblue’s astronomy charts are popular because they separate cloud cover from transparency and seeing. You do not need to become a meteorologist, just look for a night with low cloud cover and decent transparency.
A 15-minute workflow
If you want a repeatable method, here is my quick routine:
- Pick a date and check the Moon phase and moonrise/moonset times.
- Open a light pollution map and identify the nearest Bortle 4 or darker region (remember: map estimates are approximations).
- Zoom in and look for roads, turnoffs, and open terrain.
- Cross-check public land (state parks, national forests, BLM land, national parks) for legal night access.
- Use satellite view to confirm you are not accidentally choosing a “dark” area that is actually dense forest, private farmland, or a gated road.
- Save 2 to 3 backups in case a gate is closed, the wind is brutal, or unexpected lights show up.
That last step is underrated. Backup sites turn a ruined night into a detour and a story.
Etiquette: share the dark
Dark skies are fragile, and so is everyone’s night vision. A few small habits make you the person other stargazers quietly appreciate:
- Arrive before full dark so you are not setting up in someone’s eyepiece beam later.
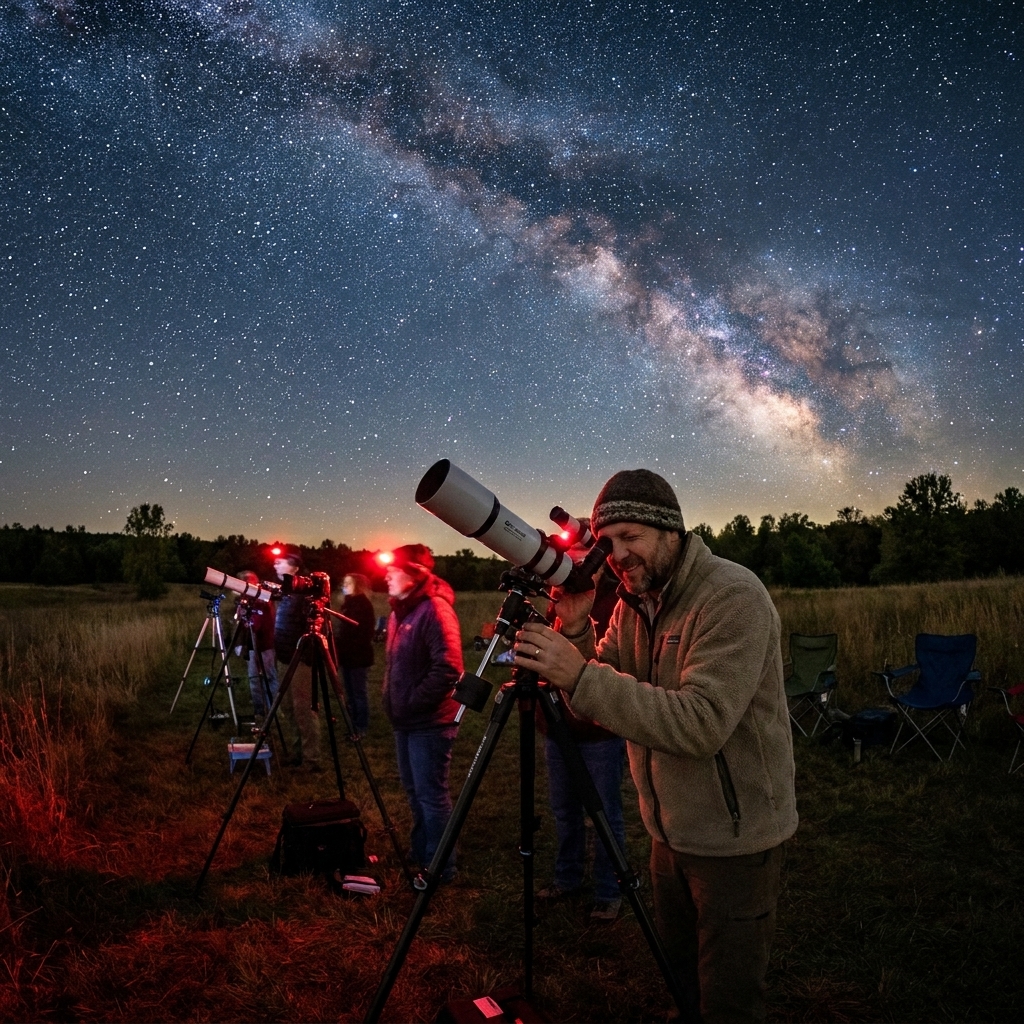
- Kill white lights (including phone screens). Use red light, and keep it dim.
- Manage headlights: park facing away from the observing area if you can, and do not idle with lights on.
- Keep it quiet at designated fields and campgrounds, especially after posted quiet hours.
- Pack out everything you bring in. Snack wrappers are surprisingly good at teleporting into the darkness.
Safety and comfort
A dark sky location is often remote. The goal is to be adventurous, not reckless.
- Tell someone your plan and expected return time.
- Bring more layers than you think you need. Nights cool fast, especially at elevation.
- Use a red flashlight to preserve night vision and be courteous to others.
- Pack snacks and water. Stargazing is quiet, but it is still a long activity.
- Watch for dew. A simple dew heater or hand warmers near optics can help on humid nights.
- Respect private property and posted signs. Dark does not mean accessible.
If you are going solo, choose well-known public sites like designated stargazing fields in parks. If you are bringing kids, pick places with bathrooms and safe walking paths.
What you can see by Bortle
Sometimes the hardest part is knowing if a site is “working.” Here is a reality check you can use in the field.
Bortle 2 to 3
- Milky Way bright with structure and dark dust lanes
- Lots of “extra” stars appear in constellations you thought you knew
- Easy naked-eye meteors and satellites
Bortle 4
- Milky Way clearly visible, strongest near the galactic core in summer
- Great for binocular star clusters and brighter nebulae
Bortle 5 to 6
- Milky Way faint or patchy
- Planets, the Moon, double stars, and brighter clusters are still rewarding
Bortle 7+
- Focus on the Moon, planets, and the brightest stars
- Narrowband filters can help for emission nebulae imaging, but they are not a magic fix for galaxies or star clusters
FAQ
How far do I usually need to drive for a noticeably darker sky?
Often 30 to 90 minutes from a city center can make a big difference, depending on your region and terrain. Mountains can block light domes, while flat, humid areas may keep skyglow visible for longer distances.
Are beaches good dark sky locations?
They can be excellent because horizons are wide and unobstructed. The catch is nearby coastal development. Look for protected shorelines, remote stretches, or parks with limited lighting.
Do I need a telescope to benefit from dark skies?
No. Dark skies are a gift to the naked eye and binoculars. A simple pair of 7x50 or 10x50 binoculars under a Bortle 3 sky can feel like you unlocked a secret level of the universe.
What is the single most common stargazing mistake?
Underestimating the Moon. Many “bad stargazing nights” are just “bright Moon” nights. Plan around it and your success rate jumps.
One last thing
When you finally stand in a genuinely dark place, give your eyes time to adapt. Real dark-sky night vision takes 20 to 30 minutes for most of the benefit, and it can keep improving beyond that if you stay off bright lights.
And if the Milky Way snaps into view and you catch yourself whispering “oh wow” into the dark, congratulations. You just found your spot.