If you have ever watched a bumblebee wobble into a flower like a fuzzy little forklift, you already understand the core idea of pollinator gardening: energy in, energy out. Nectar and pollen are fuel. Flowers are the charging stations. And our yards, parks, balconies, and school campuses can either be a barren stretch of pavement and turf or a connected network of pit stops that keeps local ecosystems running.
Here is the hopeful part. You do not need a meadow the size of a football field. A few well-chosen native plants, a little planning, and a commitment to going easy on chemicals can make your outdoor space meaningfully better for bees, butterflies, moths, beetles, flies, hummingbirds, and the larger food web that depends on them.
What it means
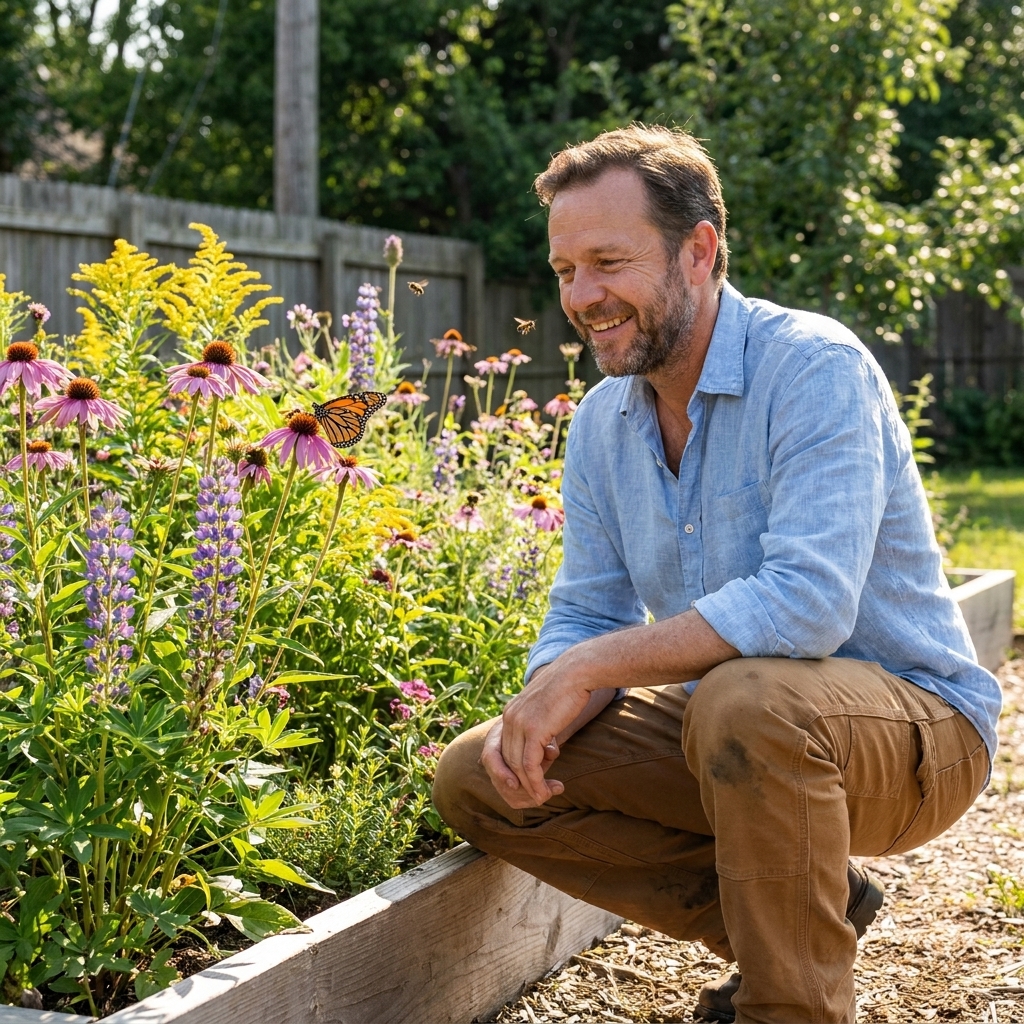
A pollinator-friendly garden does three evidence-based, practical things:
- Provides food across the whole growing season: nectar (carbs) and pollen (protein and fats).
- Provides shelter for nesting, egg-laying, and overwintering.
- Reduces hazards, especially pesticides, lack of plant diversity, and gaps in bloom time.
Pollinators are not a single group with a single set of needs. Honeybees get lots of attention, but many regions have dozens to hundreds of native bee species, most of them solitary, and many of them specialists that evolved alongside local plants. Butterflies need nectar as adults, but their caterpillars often require very specific host plants. Moths and many native bees are active at dusk or night. Translation: variety matters.
One useful nuance: some non-native ornamentals can provide nectar, especially in urban areas. But native plants tend to support more of the specialist insects (and caterpillars) that local birds and wildlife depend on, so they usually do more ecological heavy lifting.
Step 1: Observe your space
Before you buy plants, spend a week paying attention. This is the gardening version of “measure twice, cut once.”
Map sun and moisture
- Sun: Note areas that get 6+ hours (full sun), 3 to 6 hours (part sun), or less (shade). In very hot climates, “full sun” can be intense afternoon sun, so a spot that gets morning sun and afternoon shade may perform better.
- Moisture: After a rain, where does water linger? Where does soil dry out fast?
- Wind: Exposed areas dry out and can stress young plants.
Do a quick soil check
You do not need a lab coat, but you do want to know whether your soil is sand-leaning, clay-leaning, or somewhere in between.
- Squeeze a damp handful. If it forms a tight ribbon, you likely have more clay. If it crumbles and will not hold together, you likely have more sand.
- If you want precision, a basic soil test through a local extension office can help you avoid over-fertilizing and wasting money.
Why this matters: native plant success is less about pampering and more about matching species to conditions they are already adapted to.
Step 2: Choose native plants
Native plants are the ones that evolved in your region. Local insects recognize them. Local birds and other wildlife rely on the insects that feed on them. Natives also tend to be hardier once established because they are built for your climate’s weirdness, including heat, cold snaps, and local rainfall patterns.
How to choose without stress
- Start local: Native plant societies, botanical gardens, and university extension programs often publish shortlists for your state or ecoregion.
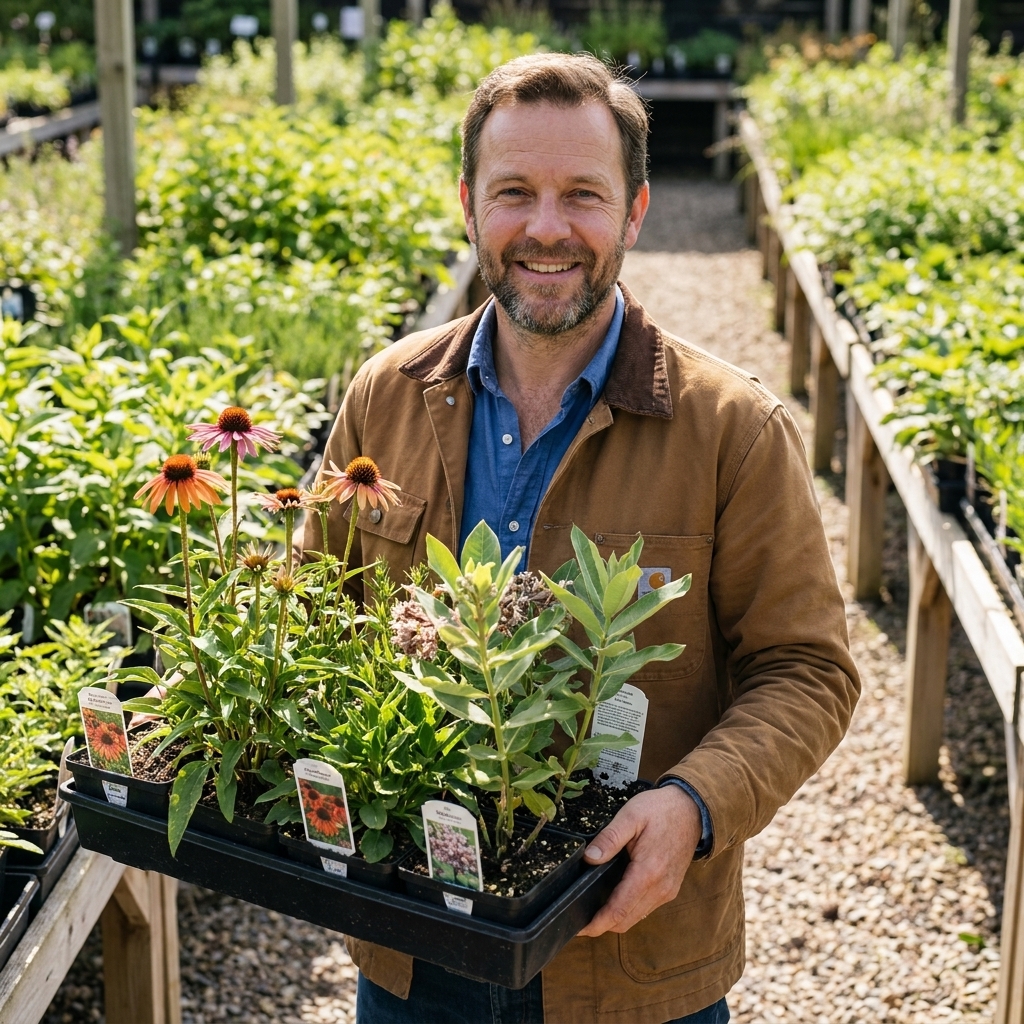
- Look for straight species when possible: Cultivars (named varieties) can be fine, but some heavily bred “double flowers” swap accessible nectar and pollen for extra petals. The goal is not “more petals.” The goal is more usable food.
- Avoid invasive species: Some ornamentals escape gardens and crowd out native habitat. Check your region’s invasive plant list before you buy.
A smart target (not a law)
If you have the space, a great starting target is 10 to 20 native plant species, with a mix of flower shapes and heights. More diversity usually means more pollinator diversity because it expands the menu and the microhabitats. If you are working with a small yard or containers, fewer species can still do a lot if your bloom timing is strong.
Quick starter plant ideas
Use these as a jumping-off point, then swap in locally native equivalents that match your sun and soil. Your local extension office or native plant society will have the best shortlists.
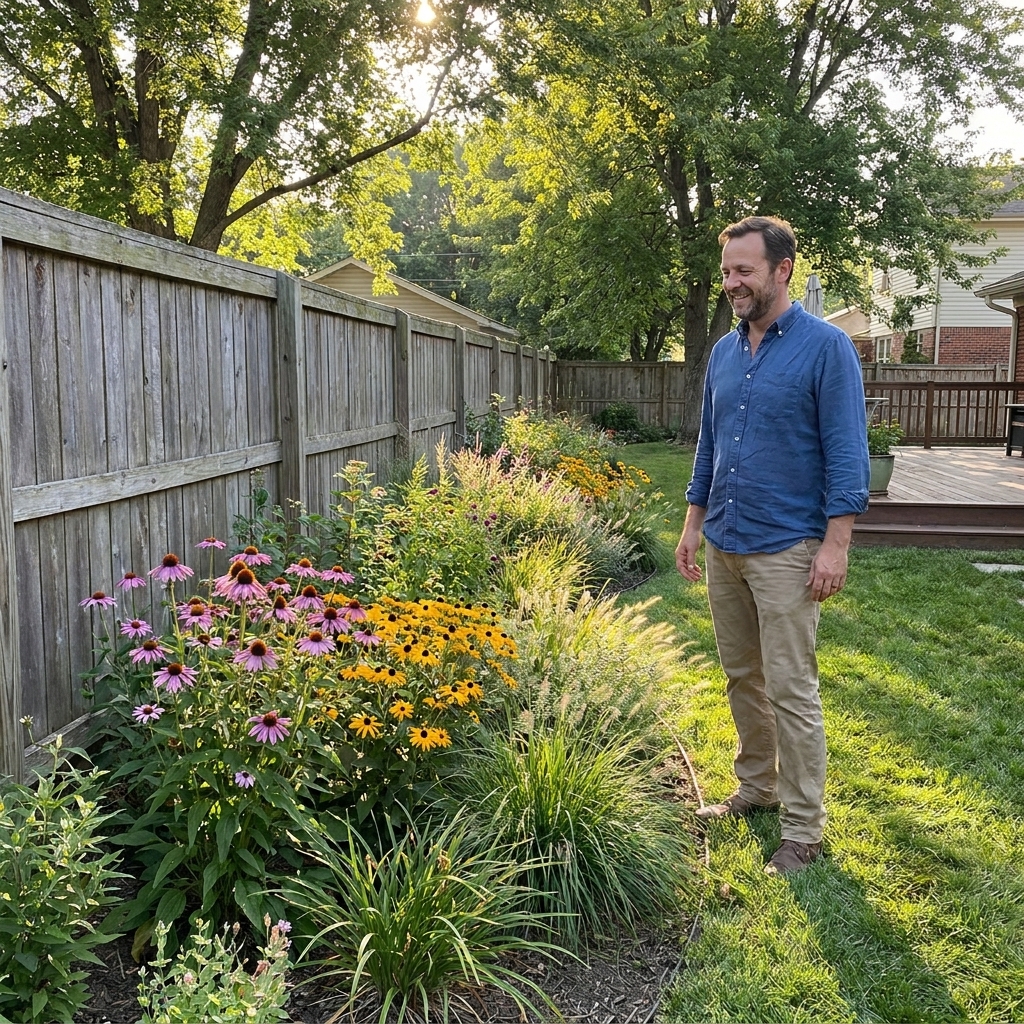
- Northeast and Mid-Atlantic (general examples): wild bergamot (Monarda), purple coneflower (Echinacea), New England aster (Symphyotrichum), goldenrods (Solidago), bee balm, mountain mint (Pycnanthemum).
- Midwest and Great Plains (general examples): prairie blazing star (Liatris), black-eyed Susan (Rudbeckia), milkweeds (Asclepias), coneflowers, asters, prairie clovers (Dalea).
- Southeast (general examples): coreopsis (Coreopsis), blazing stars (Liatris), native salvias, asters, goldenrods, native sunflowers (Helianthus).
- Southwest and Intermountain West (general examples): penstemons (Penstemon), blanketflower (Gaillardia), salvias, rabbitbrush (Ericameria), yarrow (Achillea), native buckwheats (Eriogonum).
- Pacific Northwest (general examples): Oregon grape (Mahonia), red-flowering currant (Ribes), yarrow, penstemons, native asters, goldenrods.
Host plant nudge: if you want butterflies, include at least one true caterpillar host plant. A nectar-only garden is basically a great café with no nursery.
Step 3: Plan for blooms
One of the most common well-intentioned mistakes is a garden that explodes with flowers for two weeks and then goes quiet. Pollinators need a reliable food supply across the season, especially early spring queens and late-fall workers provisioning nests.
Three-season bloom plan
- Early season (spring): crucial for emerging bees and early butterflies.
- Mid season (summer): supports peak nesting and raising young.
- Late season (late summer to fall): helps pollinators bulk up for migration or overwintering.
If you want a quick planning hack, make a simple calendar and write in your plant choices by bloom month. A helpful goal is to have two to three different plants blooming at any given time during the growing season, adjusted for your climate and space.
Step 4: Plant in clusters
Pollinators are small and energy is precious. A single flower is like finding one vending machine in a huge parking lot. A cluster is like a whole café strip.
What clustering looks like
- Plant 3 to 10 of the same species together when possible.
- Repeat clusters across the garden so pollinators can “hop” from patch to patch.
- Mix flower shapes: tubular blooms for hummingbirds and long-tongued pollinators, flat-topped flowers for butterflies and small bees, and composite flowers for generalists.
Bonus: clusters also look intentional, which can help if you live somewhere that side-eyes anything that is not a perfect rectangle of lawn.
Step 5: Add shelter
This is where pollinator gardens level up from “nice flowers” to “actual habitat.” Many native bees do not live in hives. They nest in the ground or in hollow stems. Butterflies and moths need safe places for eggs, caterpillars, and chrysalises.
Easy habitat features
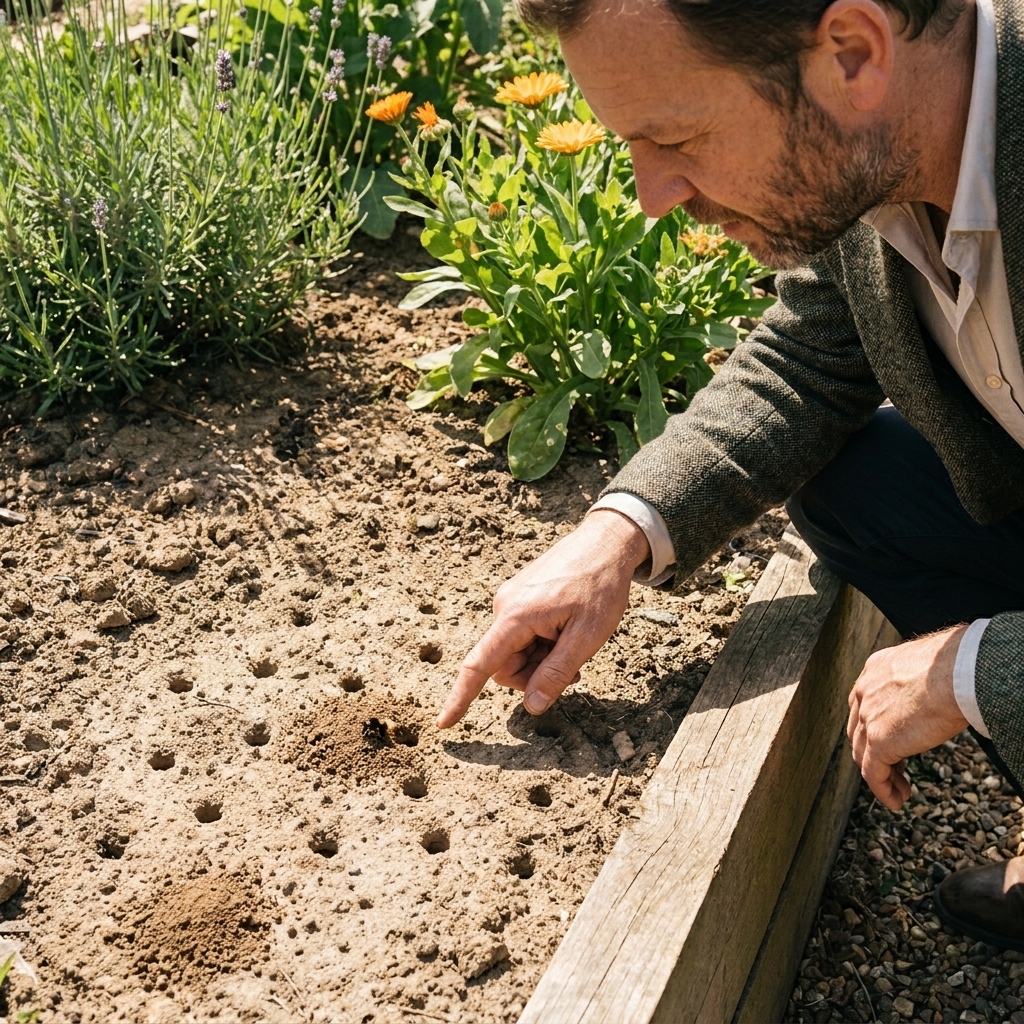
- Leave some bare, well-drained soil: Many ground-nesting bees prefer sunny patches with minimal mulch.
- Keep hollow stems through winter: Instead of cutting everything down in fall, leave stems standing until late spring. Some bees overwinter inside.
- Add brush and leaf litter in a corner: It is not mess, it is insulation and shelter for overwintering insects.
- Include host plants: Butterflies and moths need larval food, not just adult nectar.
If you use a bee house, keep it small and maintain it. Large, permanent “bee hotels” can concentrate parasites and disease if not cleaned or replaced. If you want a simple maintenance approach:
- Choose replaceable paper liners or removable nesting trays (avoid plastic straws).
- Replace liners annually and retire heavily used blocks on a regular schedule (often every 1 to 2 years, depending on design and condition).
- Place it in a dry spot with morning sun, and do not treat it with chemicals.
Natural nesting habitat is often safer and more effective long-term, and it does not require you to become the superintendent of a tiny apartment building.
Step 6: Provide water
Pollinators need water, but a deep birdbath can be a hazard. Think shallow, stable, and easy to land on.
Simple options
- A shallow dish with pebbles or marbles so insects can stand without drowning.
- A plant saucer tucked near flowers, refreshed every couple of days.
- A small dripping source over stones, if you want to get fancy.
Change water regularly to discourage mosquitoes. Moving water helps, but diligence is the real secret.
Step 7: Skip pesticides
Pollinator declines are driven by multiple stressors: habitat loss, disease, climate shifts, and chemical exposure. In a home garden, the most direct lever you control is pesticide use.
What to do instead
- Tolerate some leaf damage. Caterpillars have to eat something to become butterflies and moths.
- Use physical controls: hand-pick pests, use row covers on vegetables, blast aphids off with water.
- Support natural predators: lady beetles, lacewings, parasitic wasps, birds.
- If you must treat: follow label directions, choose the least toxic option, avoid drift, and never apply to blooming plants. Timing treatments for when fewer pollinators are flying can help, but remember some pollinators (like moths) are active at dusk and night, so timing is not a magic shield.
A note on herbicides: eliminating flowering “weeds” like clover, dandelion, and violets can remove early-season food sources. If you are not ready to convert your whole lawn, consider letting a few patches bloom.
A quiet hazard to avoid
When buying plants, ask whether they were treated with systemic insecticides (including some neonicotinoids). These can linger in plant tissues and show up in nectar and pollen. When in doubt, choose growers who advertise pollinator-safe practices or untreated stock.
Step 8: Plant and maintain
Start small, then expand
If you are new to natives, begin with one bed or a border strip. A 4-by-8-foot patch can support a surprising number of insects if it has the right plants and bloom timing.
First-year expectations
Many native perennials follow the classic mantra: sleep, creep, leap.
- Year 1: they establish roots (sleep).
- Year 2: they begin to fill in (creep).
- Year 3: they take off (leap).
Watering and mulching
- Water new plantings regularly for the first growing season, then taper as roots establish.
- Use mulch strategically. Keep it thinner near plants that prefer bare or lightly covered soil. Avoid burying crowns.
Leave the “messy” bits
If you can, wait to cut back stems until temperatures are consistently mild and you see insects active again. A common rule of thumb is to delay cleanup until spring is truly underway, not just one warm day that feels like it.
A simple starter layout
Here is a simple design that works in many regions once you swap in local native species that fit your sun and soil:
- Back row (tall): 2 to 3 clumps of tall, late-season bloomers plus one native bunchgrass for structure.
- Middle row (medium): 3 to 5 clusters of mid-season bloomers with different flower shapes.
- Front row (low): early-season flowers and groundcovers that provide a “welcome mat” for spring pollinators.
- Edges and corners: a small bare-soil patch, a leaf-litter corner, and a shallow water dish with stones.
Think of it like building a tiny neighborhood: food options, housing options, and safe sidewalks connecting it all.
Common questions
Do I need to remove my whole lawn?
No. Lawns are not evil, they are just ecologically quiet. Converting even 10 to 20 percent of a yard into diverse, native plantings can create meaningful habitat. Start with sunny edges, a side yard strip, or a bed near your patio where you will actually enjoy it.
What if I only have a balcony?
Containers can help, especially if you choose native flowers, avoid pesticides, and provide water. Use larger pots (they dry out less), plant in clusters, and include at least one host plant if you have room. Even a small “nectar stop” matters when it connects to others nearby.
Are honeybees enough?
Honeybees are important managed pollinators for agriculture, but local biodiversity depends heavily on native pollinators. A pollinator-friendly garden is about supporting many species, including solitary bees, butterflies, moths, and beneficial flies.
How do I know it is working?
Try a five-minute pollinator check once a week. Stand in one spot and count visitors. Over time you should see more variety and more consistent activity across the season. You can also look for signs like leaf-cutter bee circles on leaves, caterpillars on host plants, and seed heads being visited by birds later in the year.
If you do only five things
- Plant native flowers matched to your sun and soil.
- Cover the season with early, mid, and late bloomers.
- Cluster plants so pollinators can feed efficiently.
- Leave habitat: some bare soil, stems through winter, and a leaf-litter corner.
- Avoid pesticides, and avoid plants treated with systemic insecticides.
Sources to trust
- Xerces Society: guidance on native bees, nesting habitat, and pesticide risk reduction.
- University extension offices: region-specific native plant lists, soil testing, and integrated pest management.
- Local native plant societies: locally native species recommendations and invasive species alerts.
The small action that adds up
In physics class, I used to tell my students that big changes often come from small forces applied consistently.
A pollinator garden is that idea, but alive. Each yard is a patch. Each patch becomes a corridor. And corridors are how species survive in a world that keeps slicing habitat into smaller pieces.
So pick a sunny corner, plant a few natives, leave some stems standing, and put out a tiny pebble-filled water dish. Then watch who shows up. The “aha!” moment in pollinator gardening is realizing your backyard is not separate from nature. It is part of the local ecosystem, and you get to decide what role it plays.